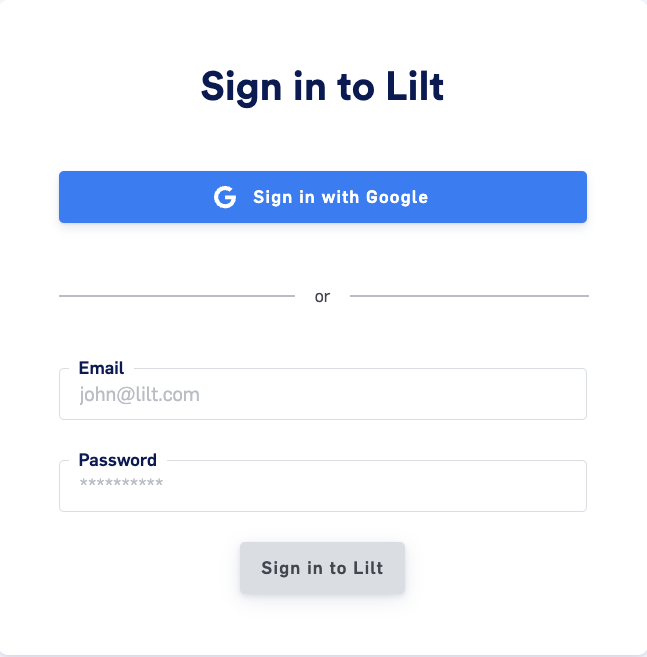
Logging into LILT
- Navigate to http://Lilt.com .
- Select “Sign In” in the upper right-hand corner.
- Sign in with the username and password provided by the LILT team.
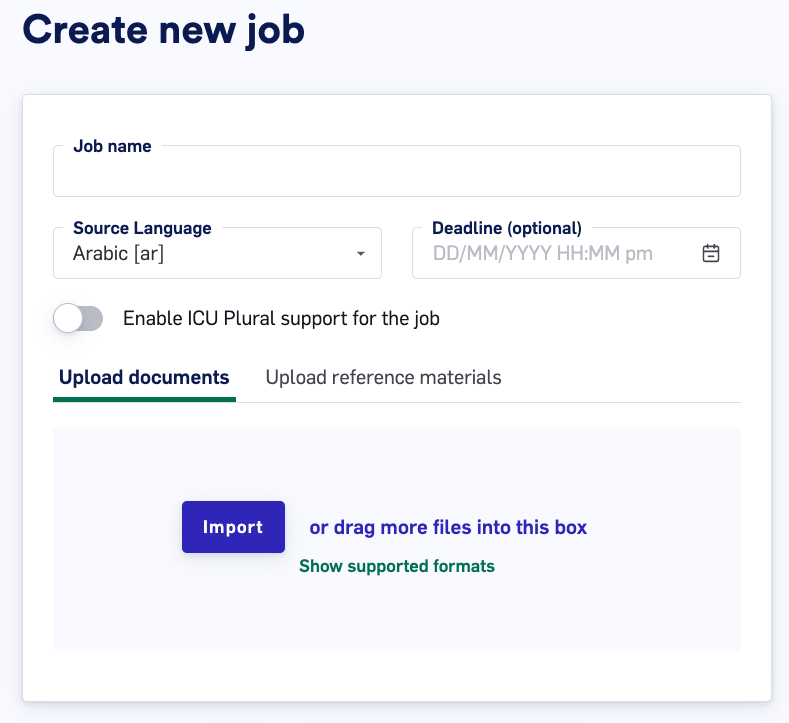
Creating a Job and Project
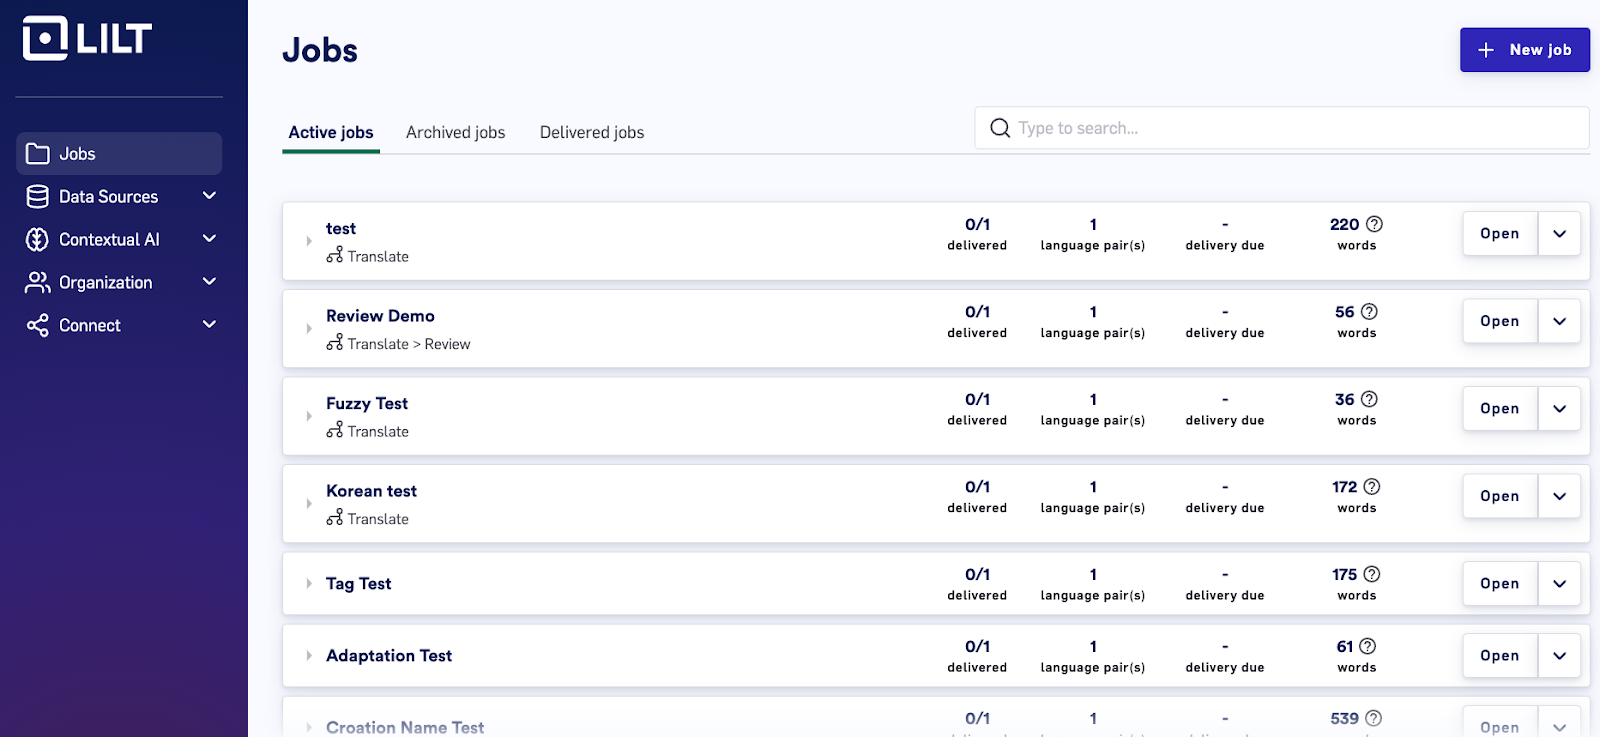
- From the “Jobs” page, select “New Job” in the upper right corner
- Name the Job
- Select Source Language
- Upload Source and Document
- Select “Add Target Language”
- Select Target Language
- Select or create Data Source
- Select “Add Target Language”
- Select “Create Job”
Instant Translate
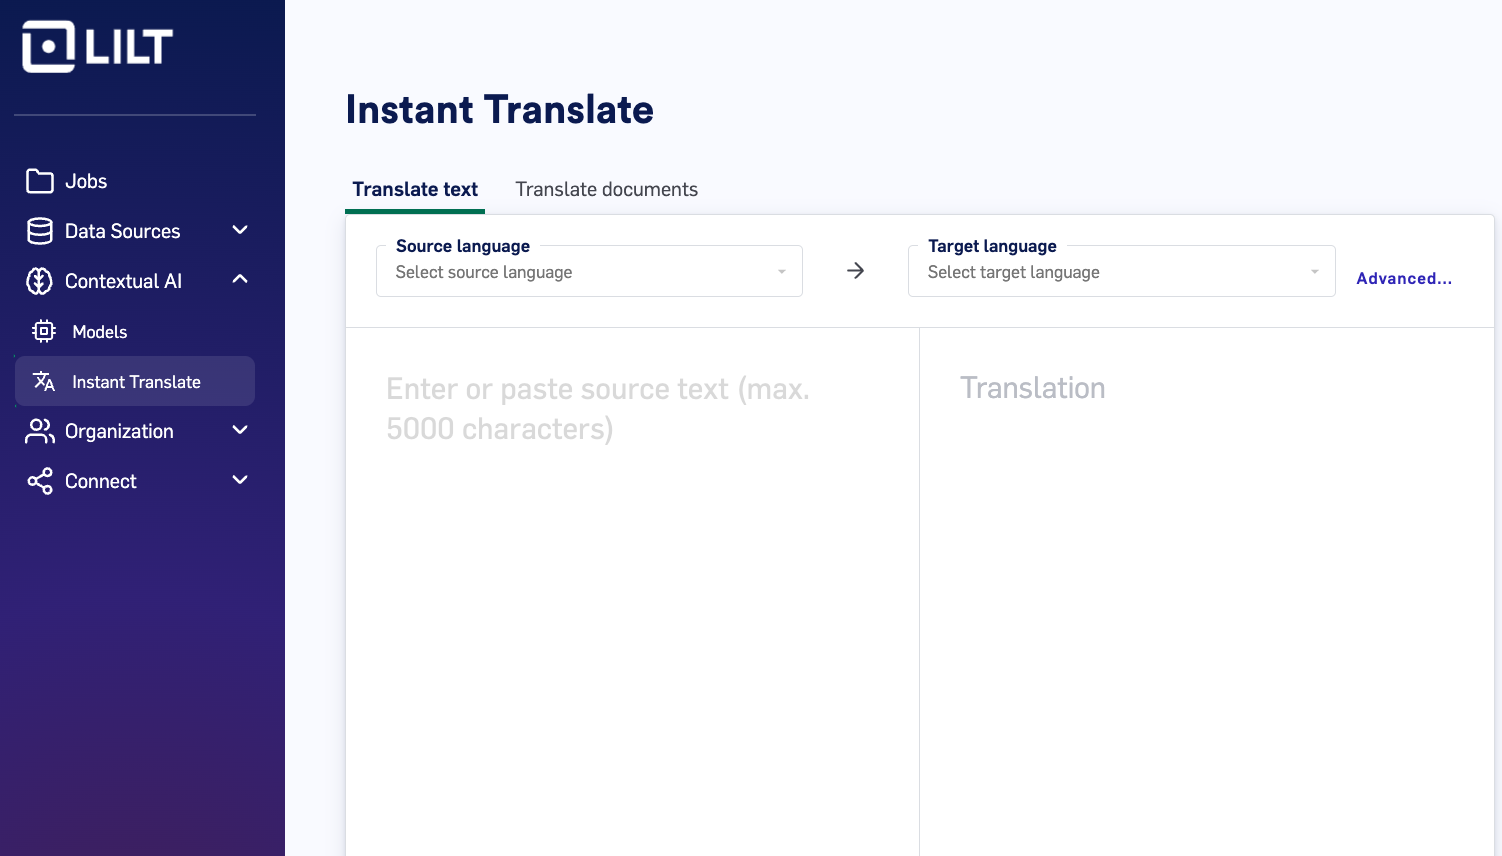
- Click “Contextual AI” on the left side of the LILT interface
- Select “Instant Translate”
- Select the correct Source and Target language a. Click “Advanced” to select memory
- Paste text for translation
- Click “Translate”
Review Mode
Assigning a reviewer
- Instructors can view student projects
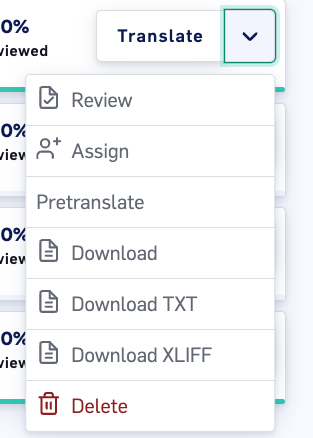
- From the project level click the down arrow to the right of “Translate”
- Click “Assign”
- Enter the username of the reviewer
- Click “Update Settings”
- The chosen reviewer will receive notification to accept the document for review
- Reviewer should click “Accept”
- Next the Reviewer should click “Review” from the notifications tab. a. If clicking Review does not open the document, click it one more time.
Exporting Revision Report
- Open Job and Project
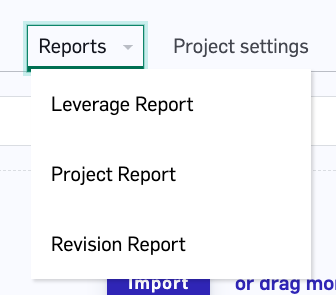
- On the top of the page click “Reports” and then “Revision Report”
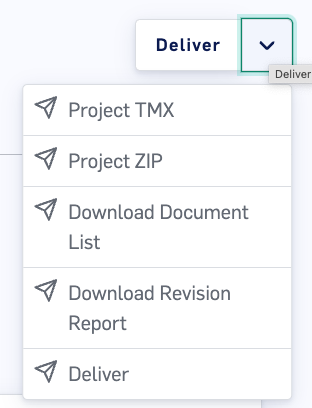
- Click “Deliver”
- Choose “Download Revision Report”
Creating a vocabulary list (LILT Termbase)
- Users can add terms to a vocabulary list in order to keep track of new words encountered in a difficult translation
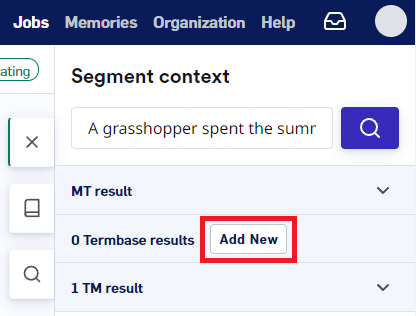
- Click “New Term” on the right-hand side of the screen
- Users can also use Windows shortcut: Alt+A; Mac shortcut: Option+A to open the same screen
- Enter/Paste in the desired source and target meaning
- Select “Add Entry”
Context Search (LILT Concordance)
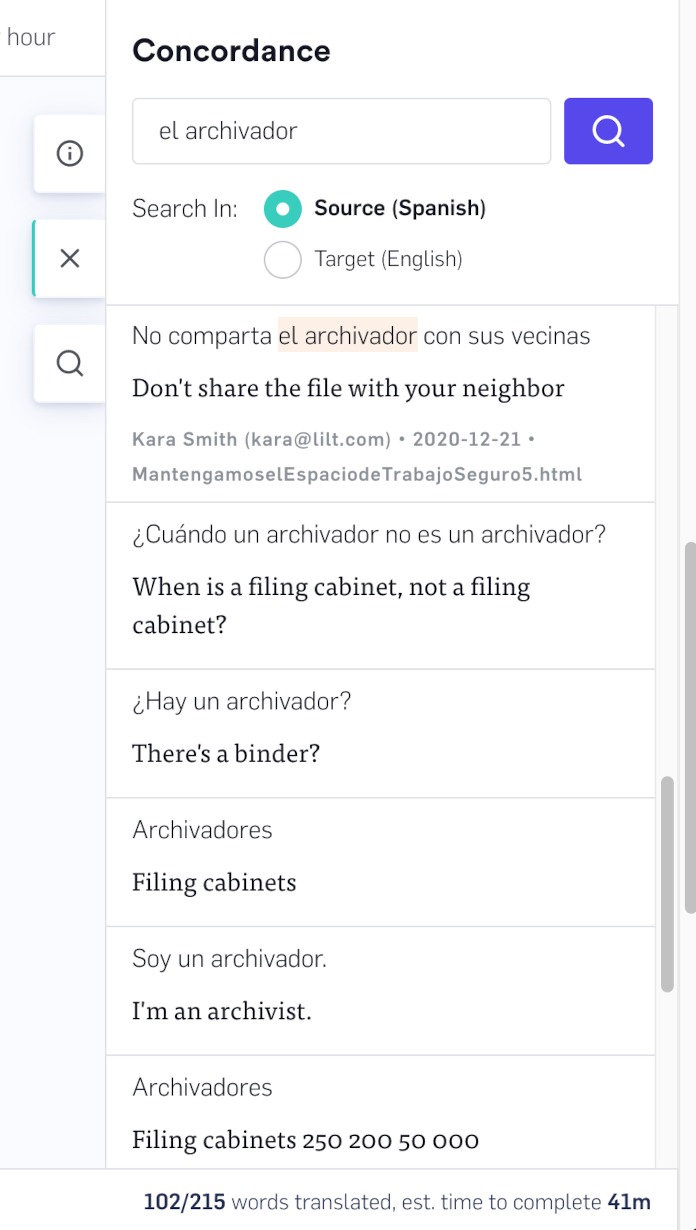
- Click the book icon on the right side of the screen to open the concordance search.
- Type in a term or phrase
- Indicate which language it is, Arabic or English
- Click the magnifying glass icon to search
Source Text Editing
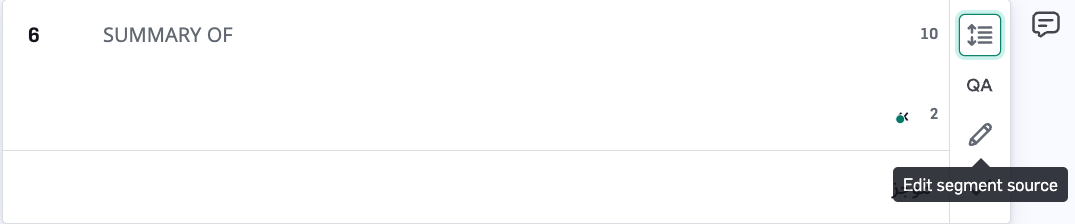
- Click the pencil icon to the right of the segment
- Edit the source text
- Click “Save Changes”
Segment Editing
Split Segment
Ability to break larger segments into smaller segments
- Select the desired segment
- On the right of the selected segment, select “Segment Editing Tools” and then “Split Segment”
- Drag and drop the green vertical marker to where the segment should be split
- Confirm the split by selecting the checkmark, or cancel the split by clicking the X

Merging Segments
Can only be performed on split segments, or segments where there are no line breaks in the original formatting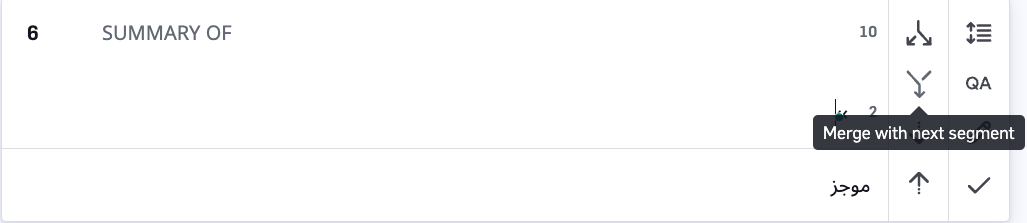
- Select the desired segment
- On the right of the selected segment, select “Merge with next segment.
- If the merge button is grayed out and not selectable, there is a character break prohibiting the merge (Ex: background paragraph break)