How to set SRX files
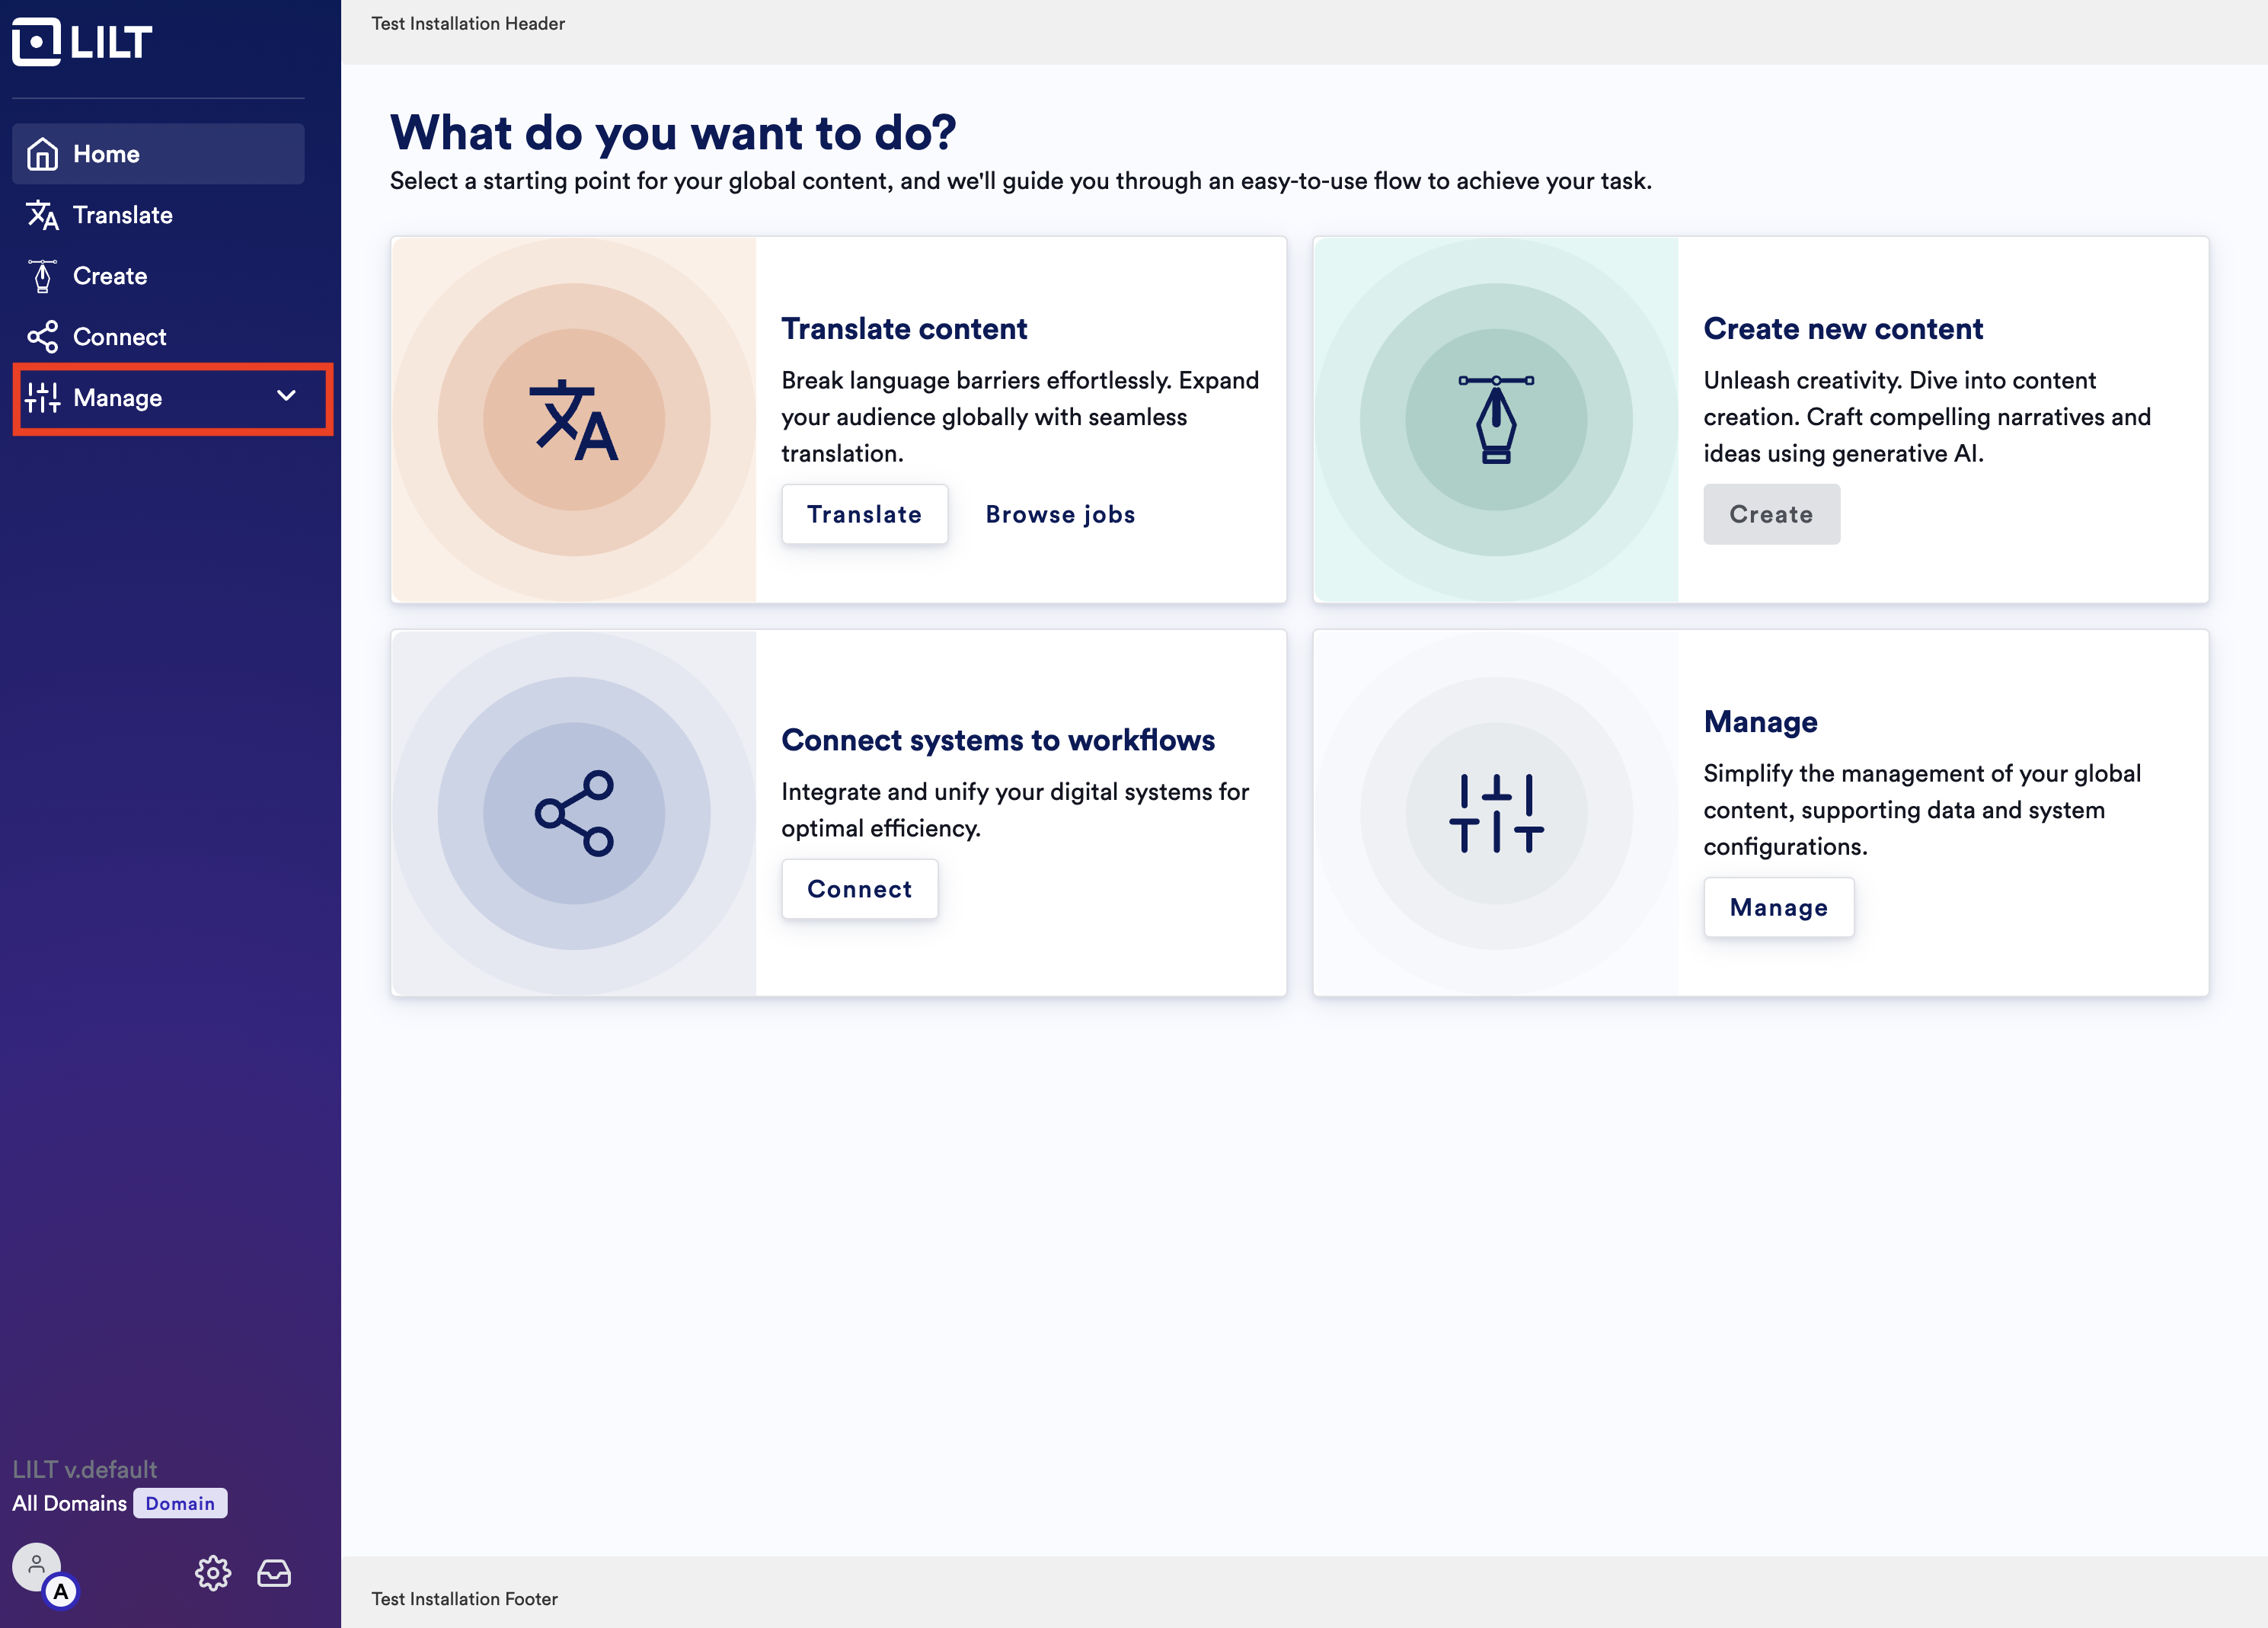
- Click “Manage” on the left rail
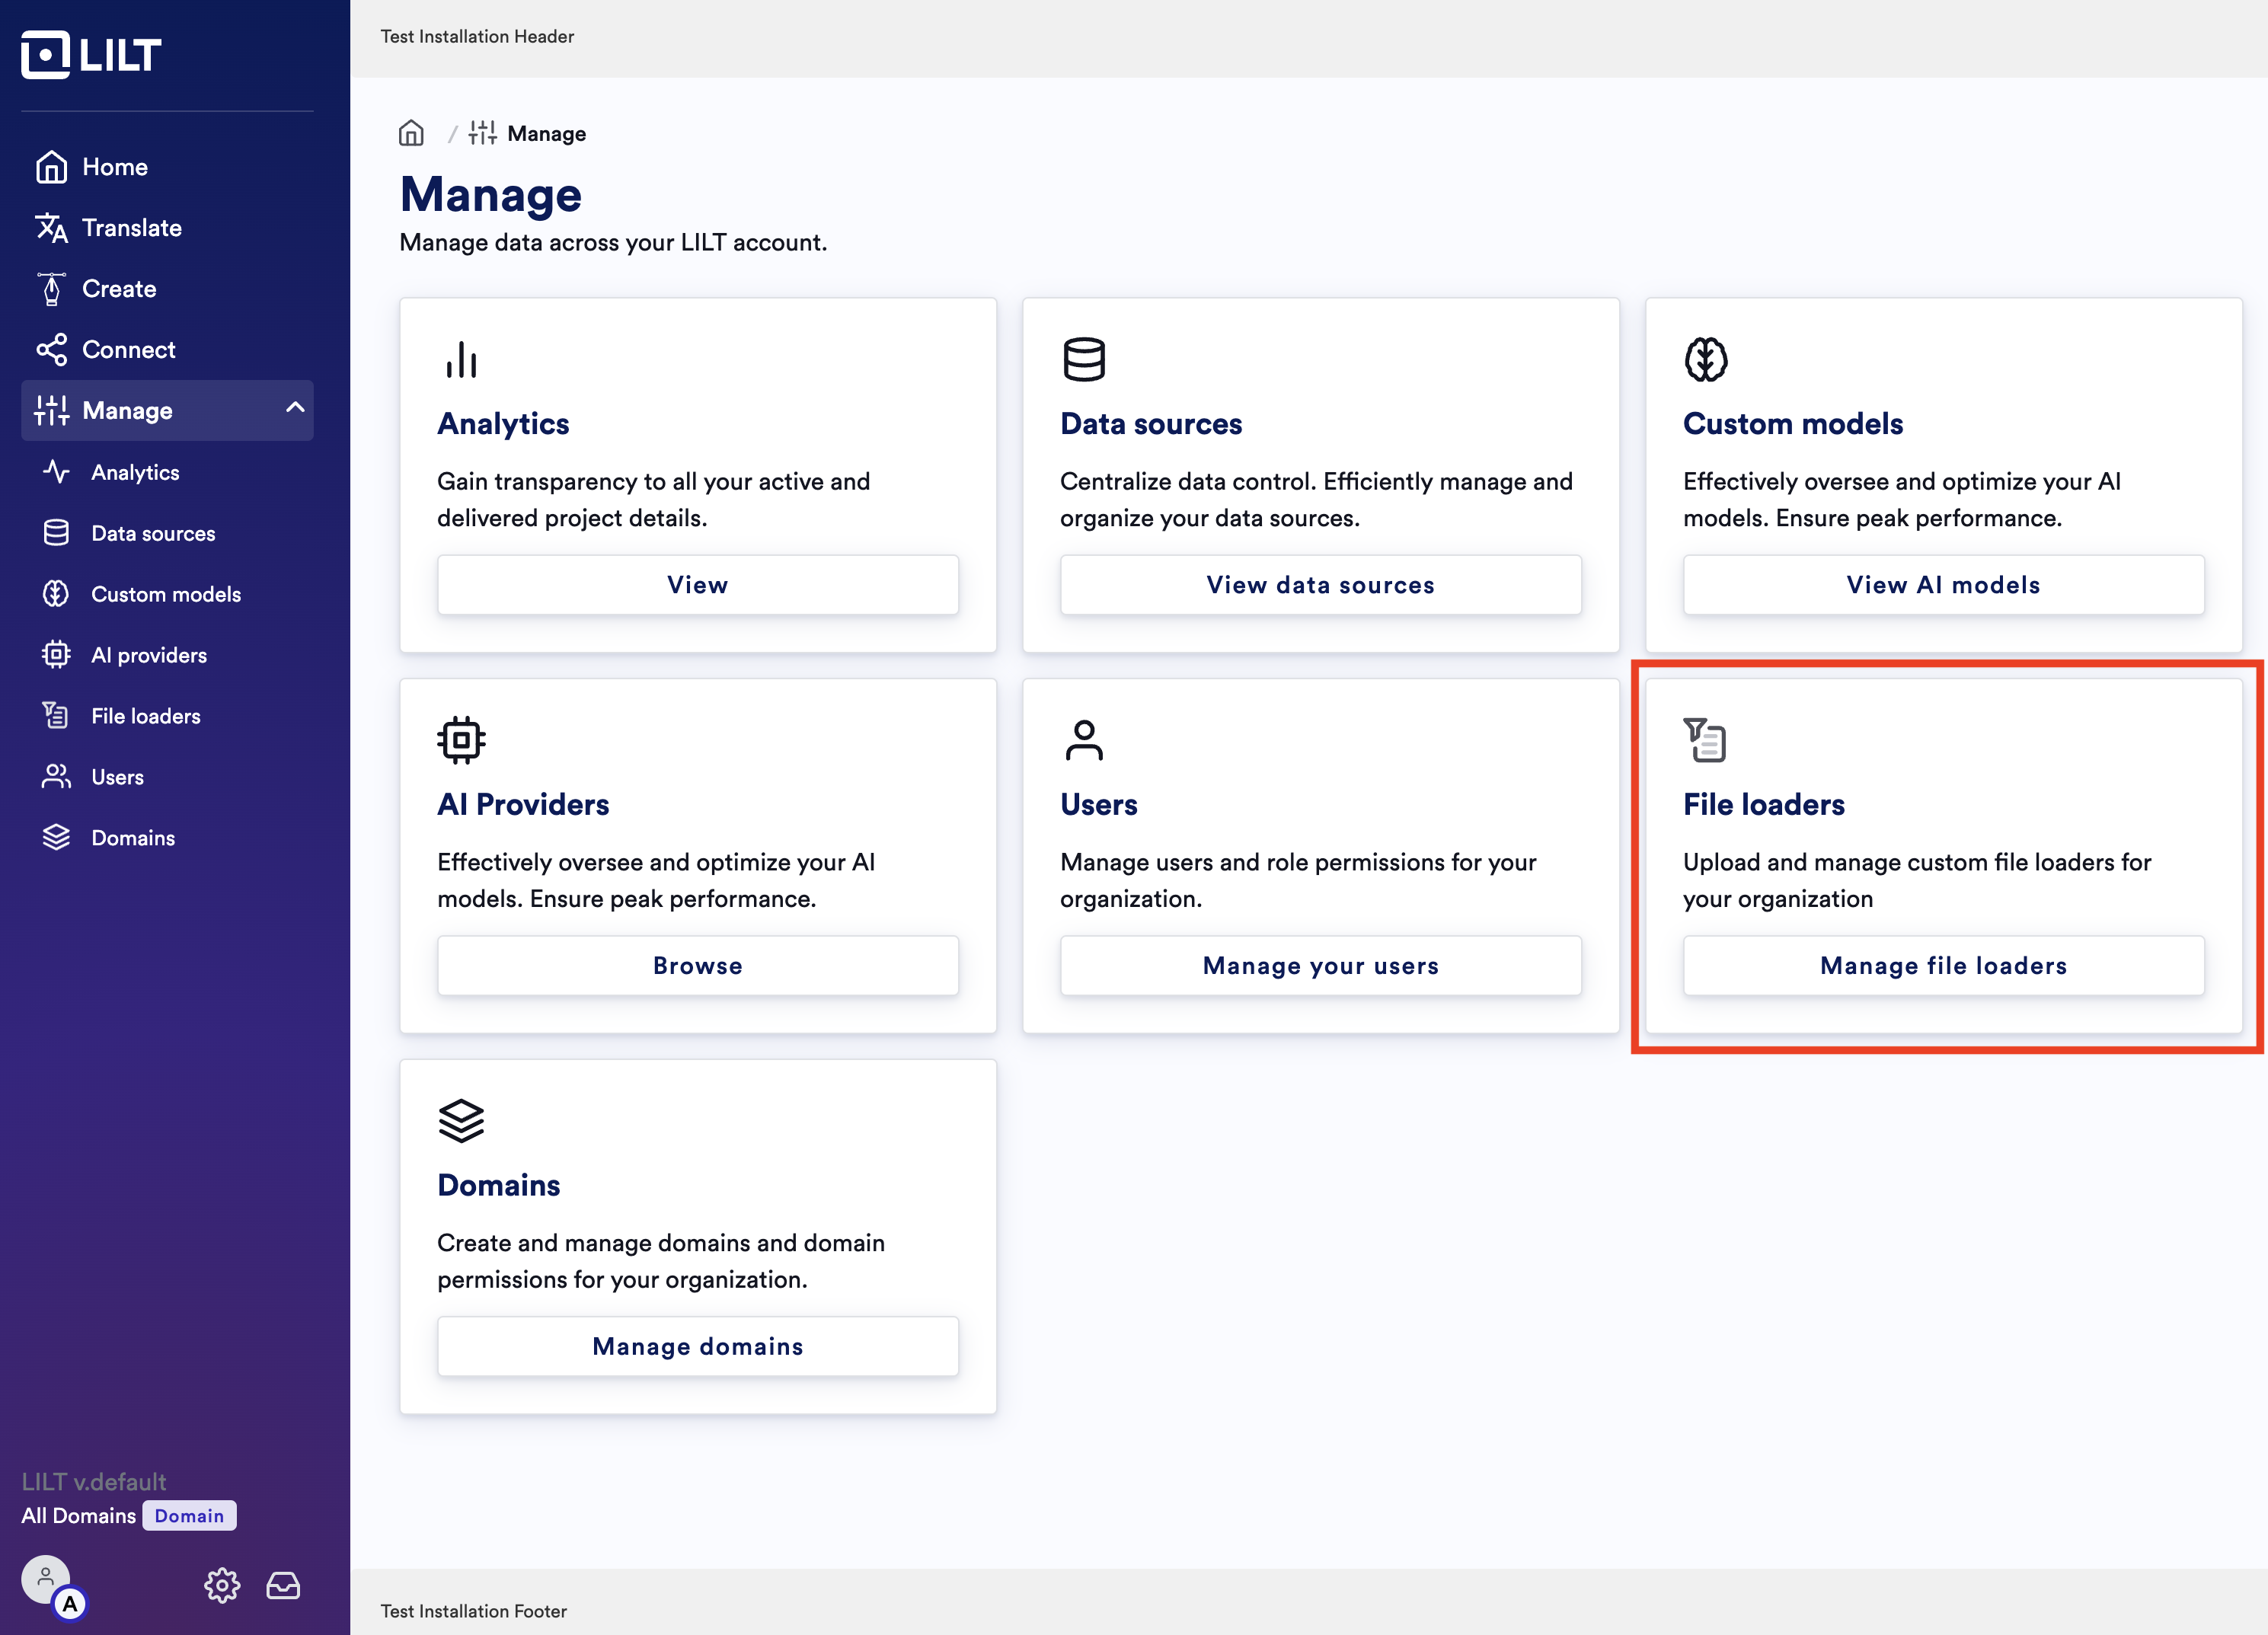
- Click on “File Loaders”
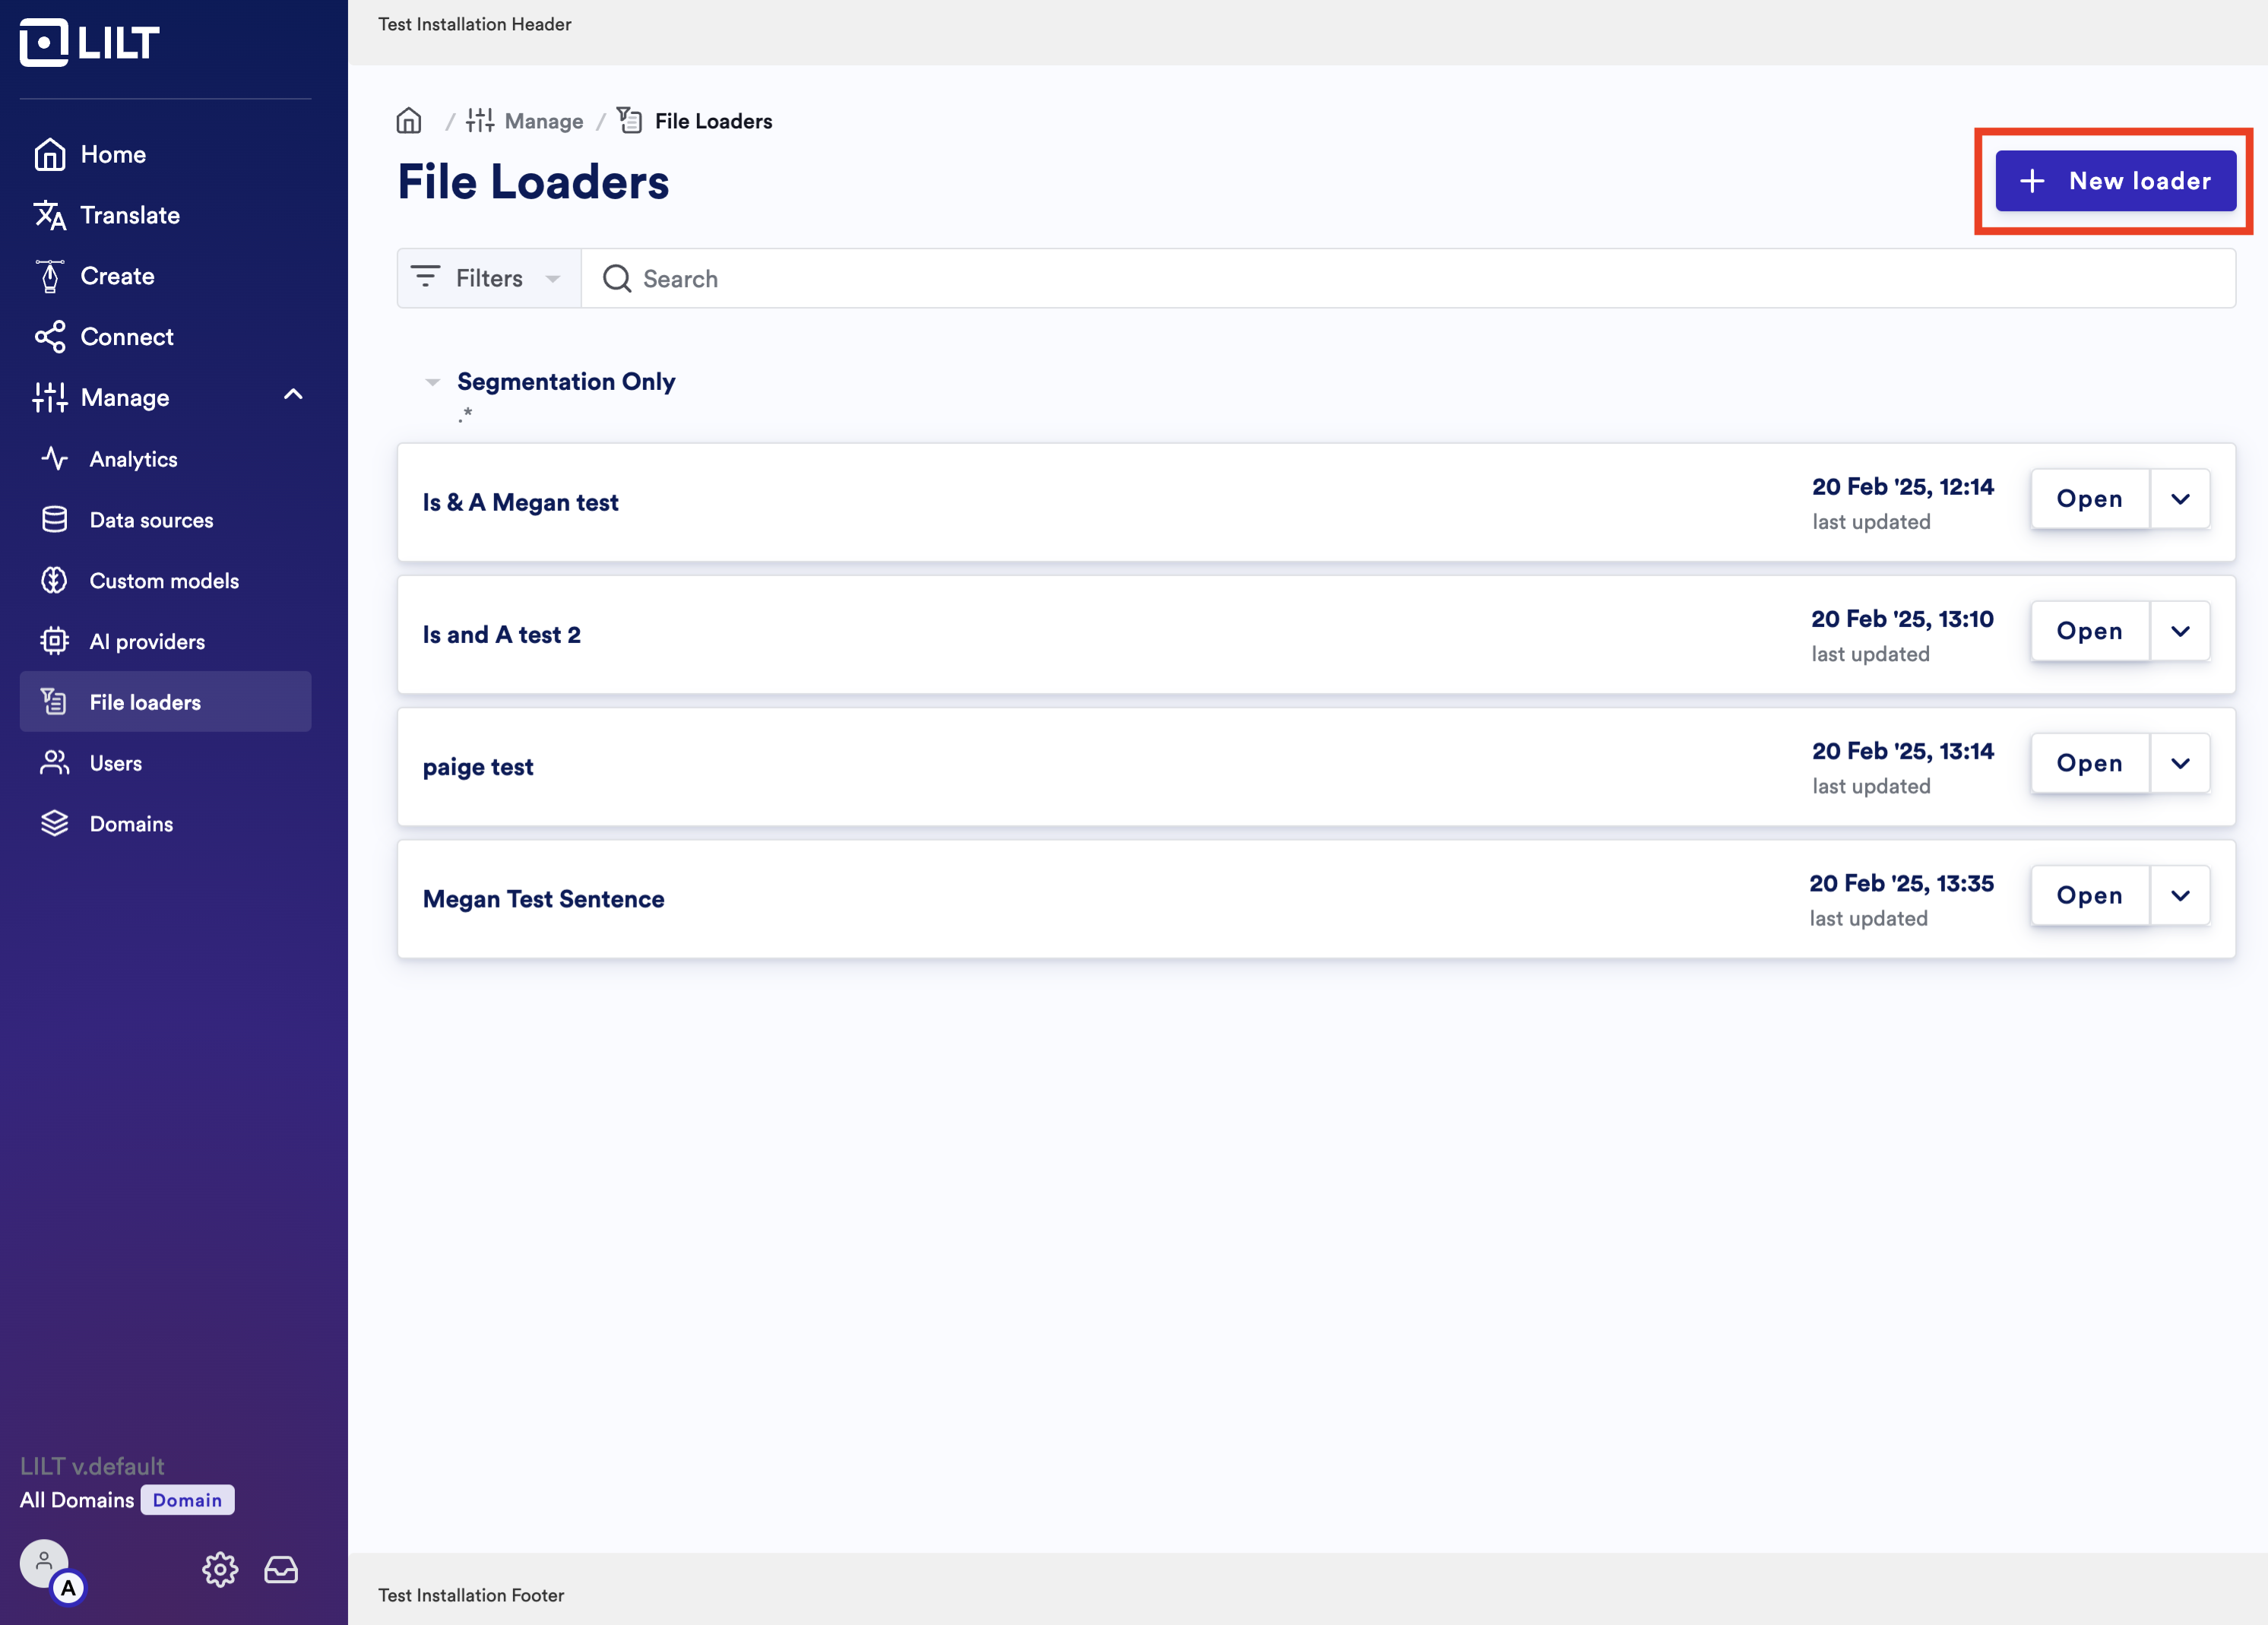
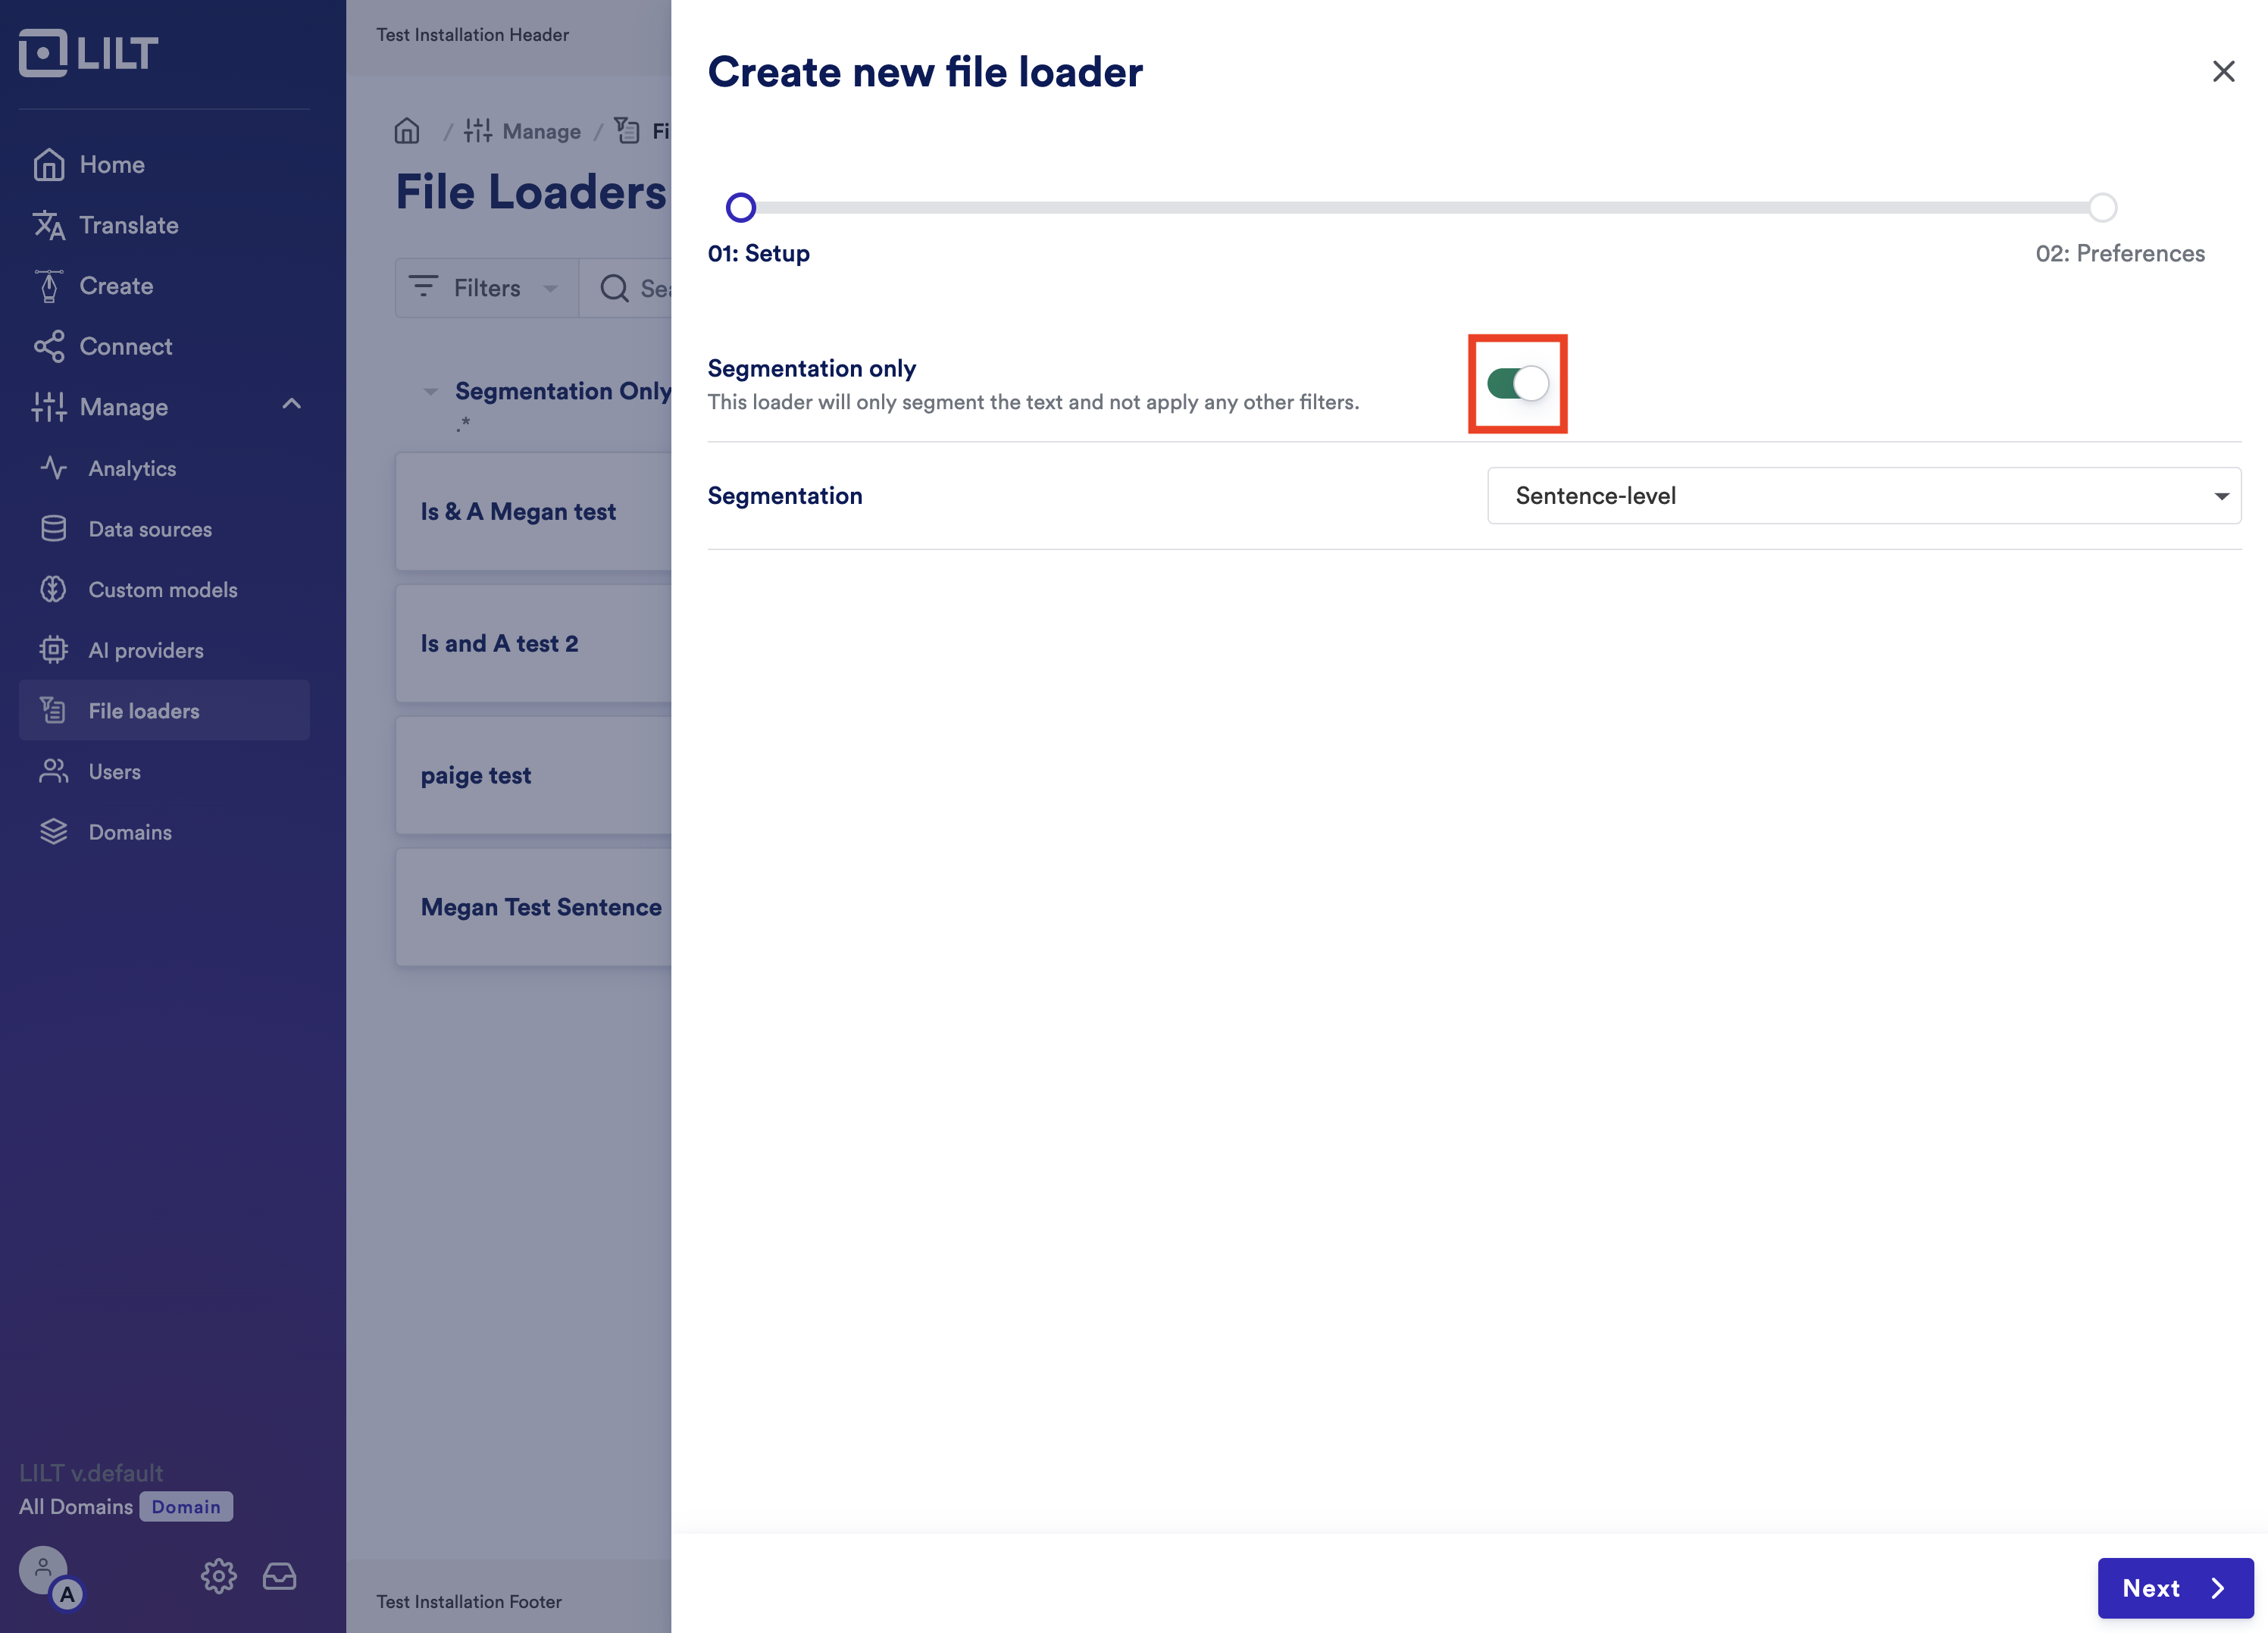
- Click on “+ New Loader” in the top right corner
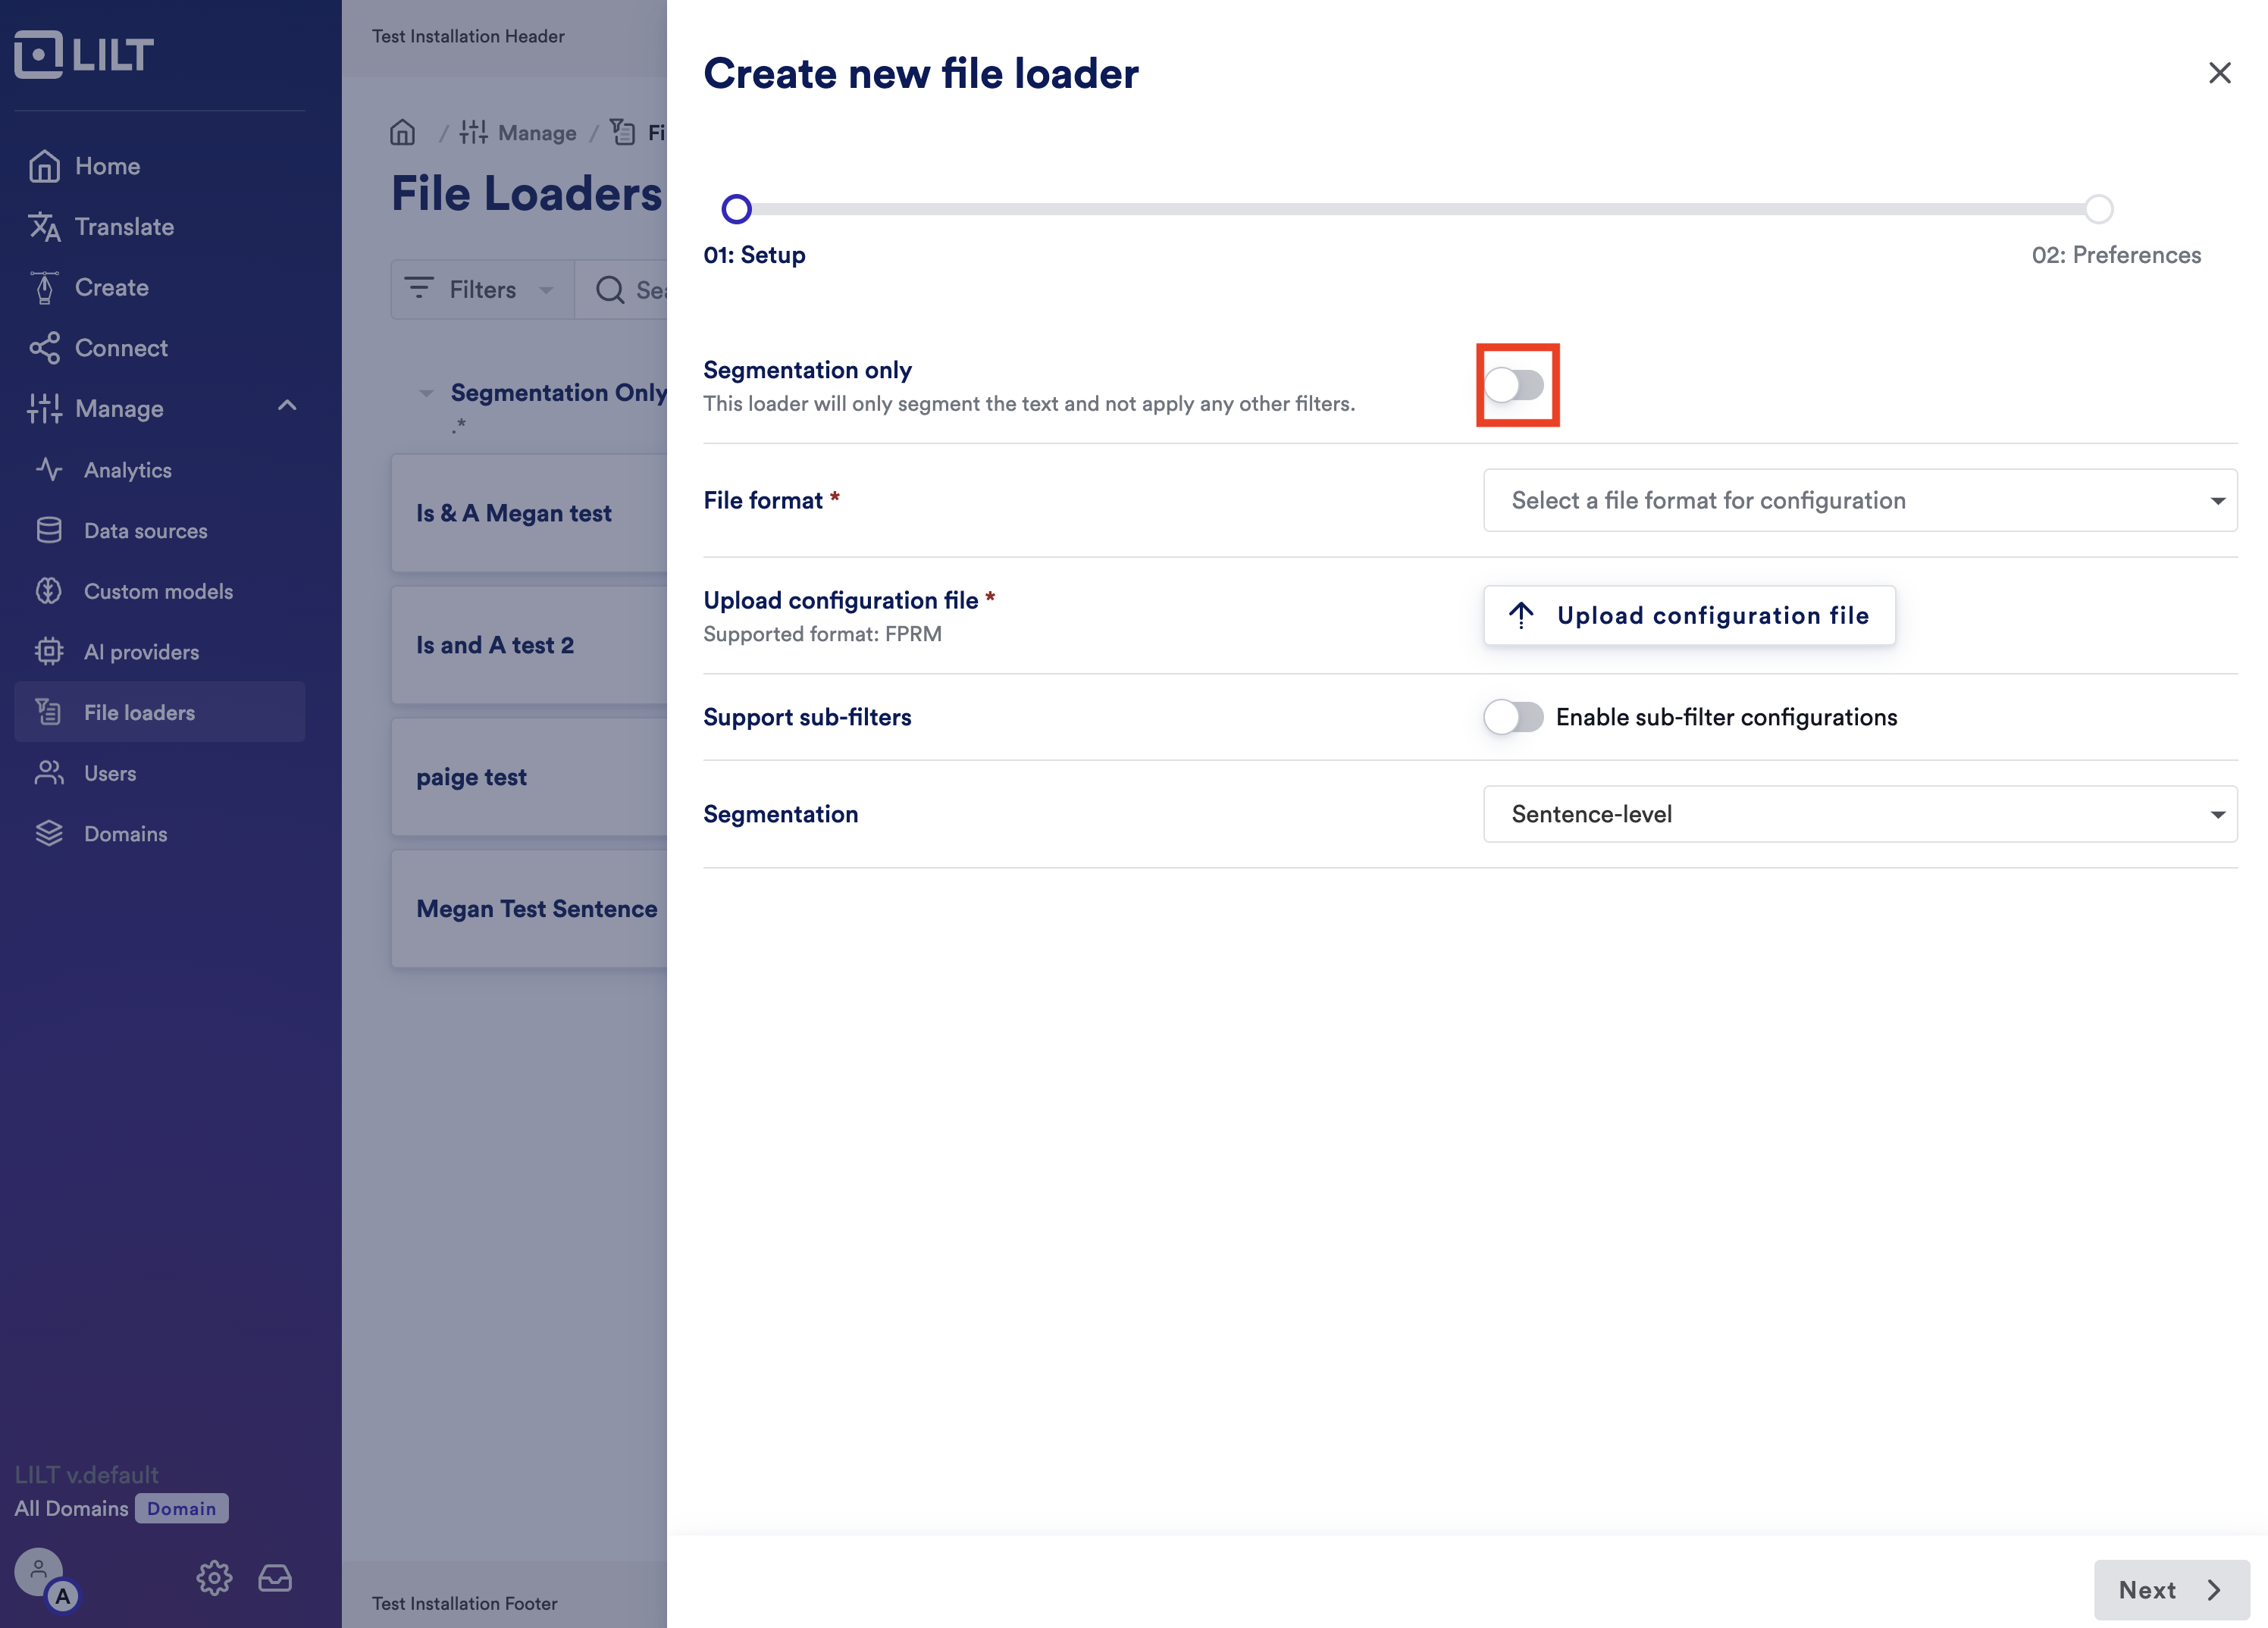
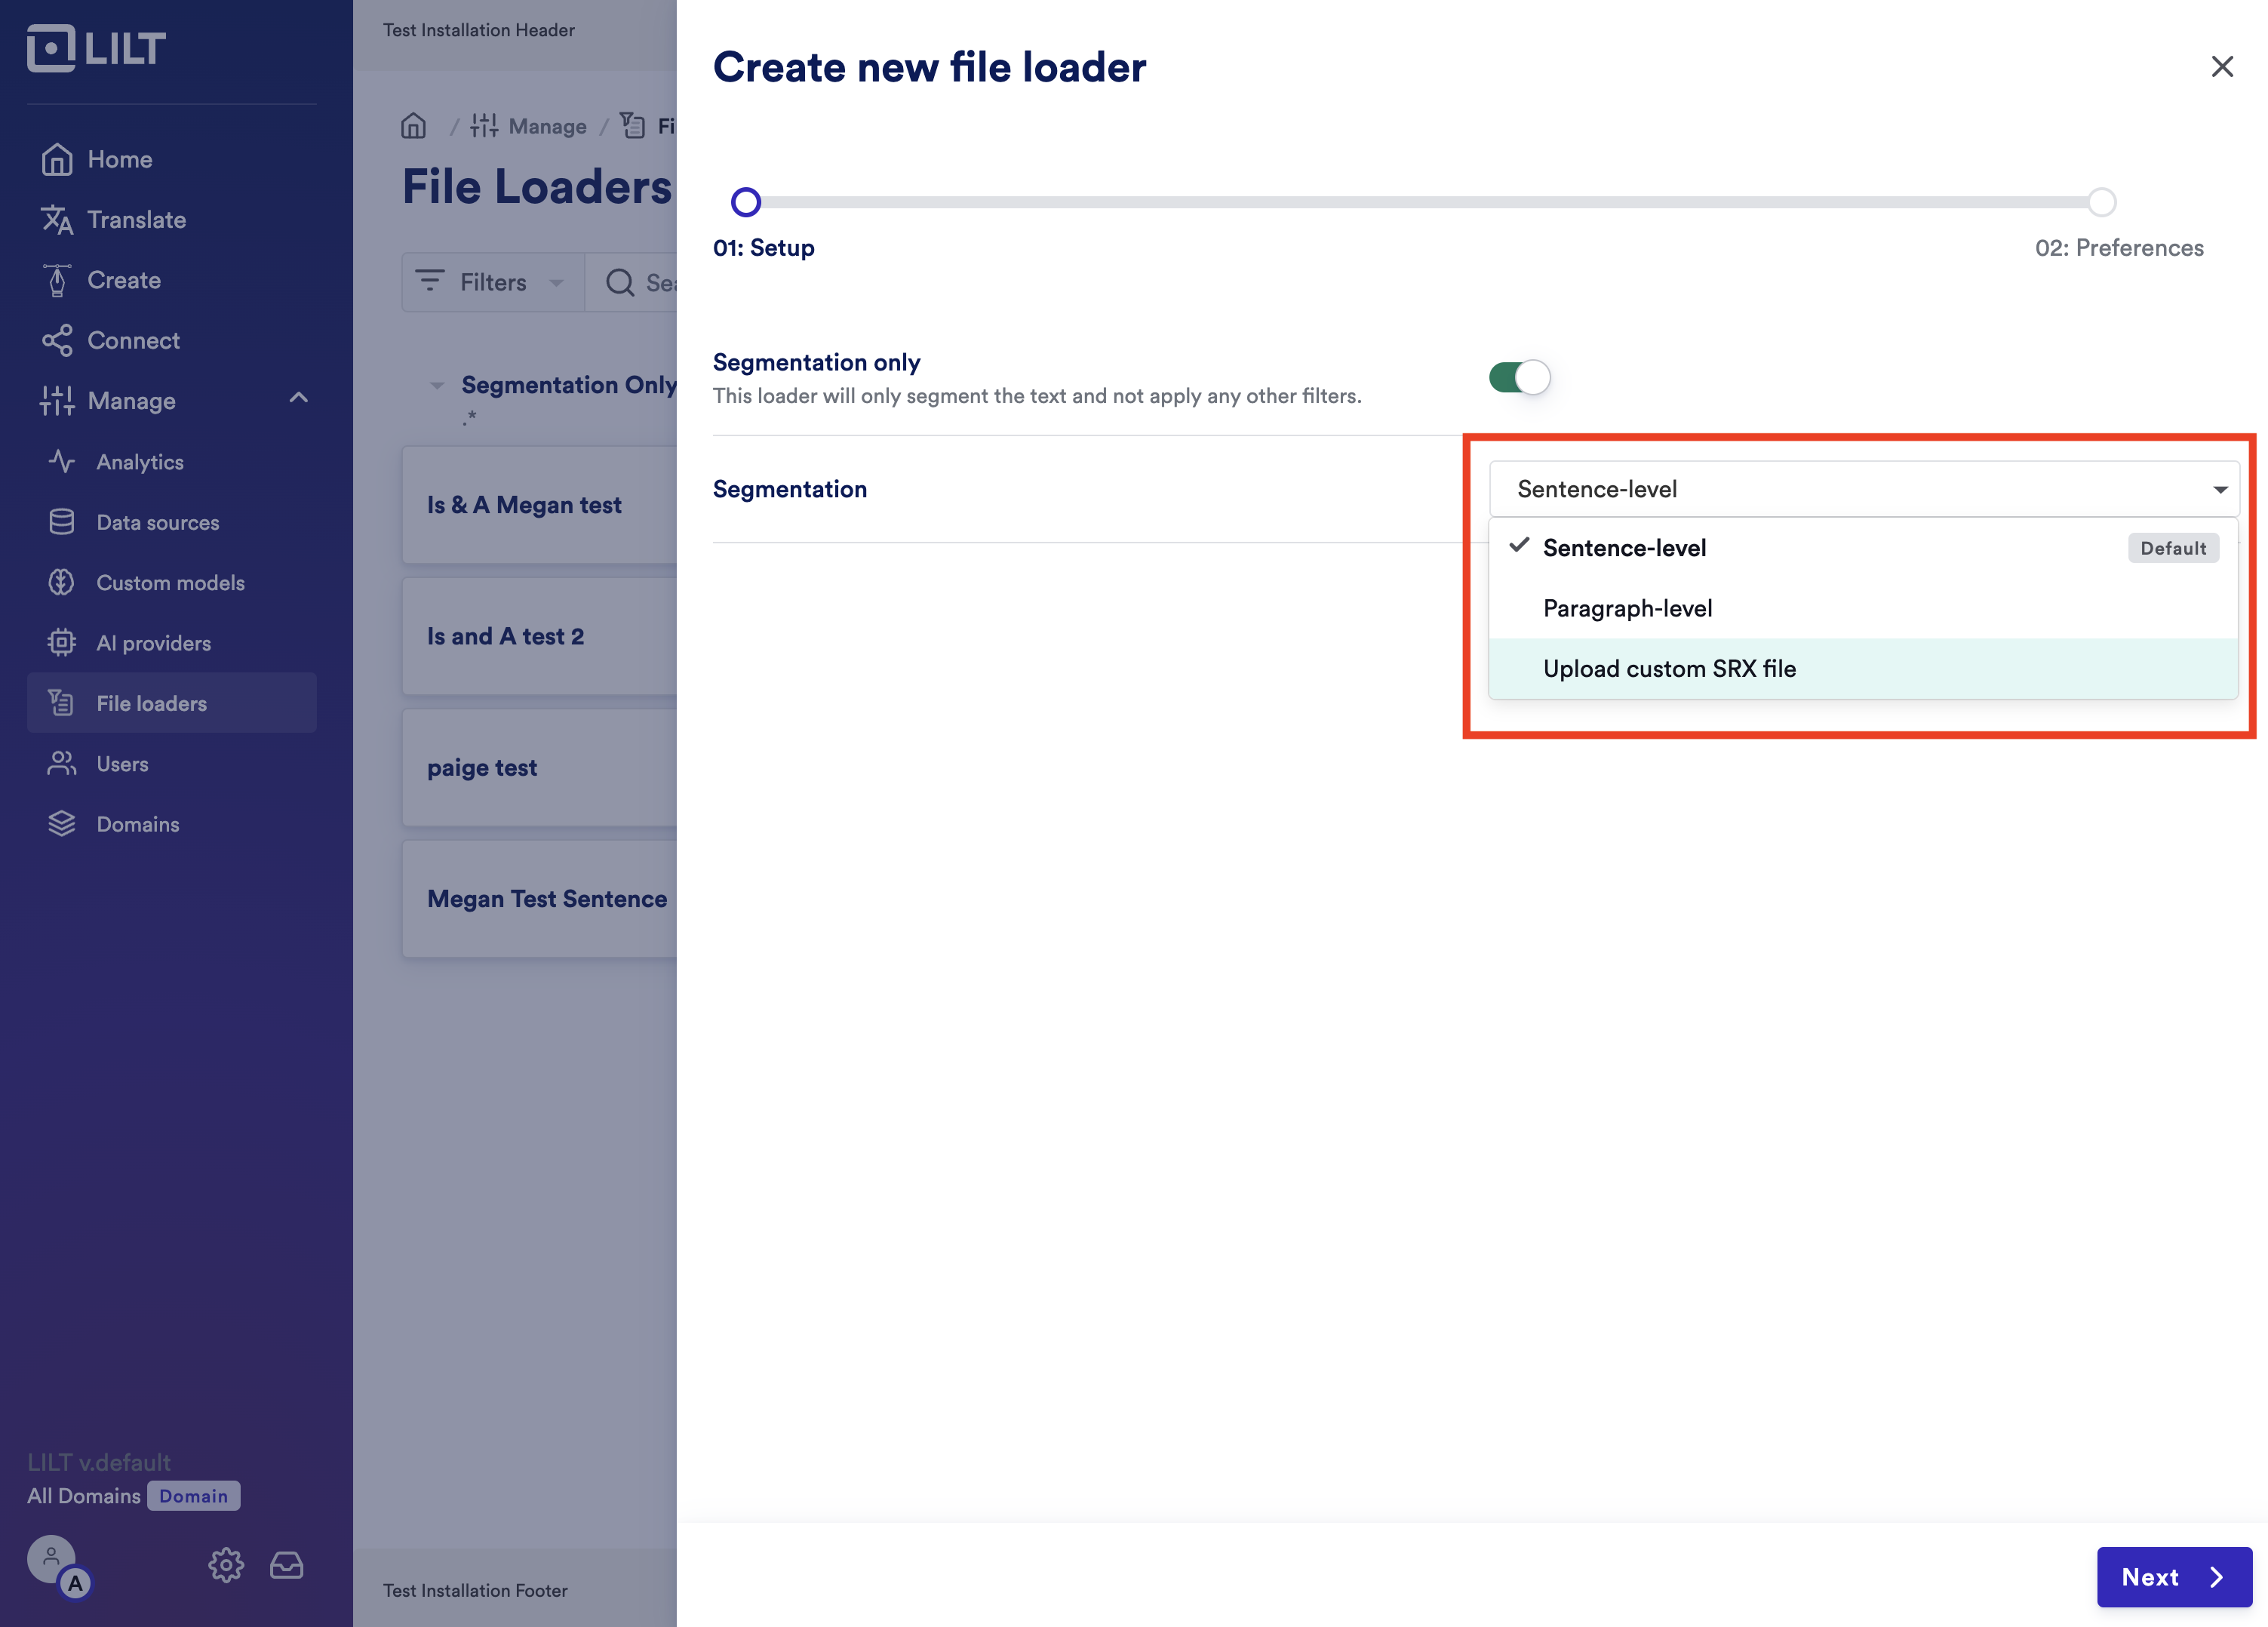
- Click on “Upload custom SRX File” - click on that and in the new selection window - pick out the SRX file that you want to upload
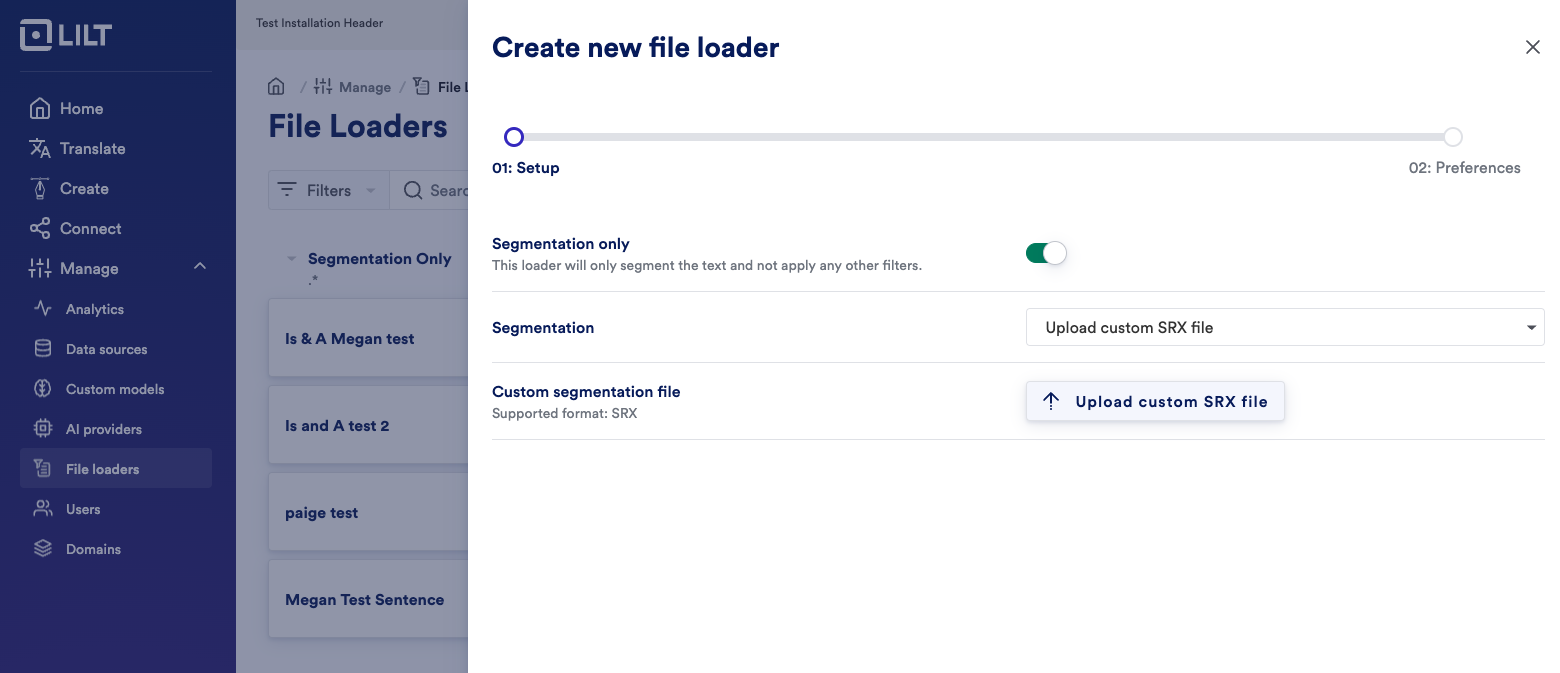
- After uploading the file, click Next in the bottom right corner
-
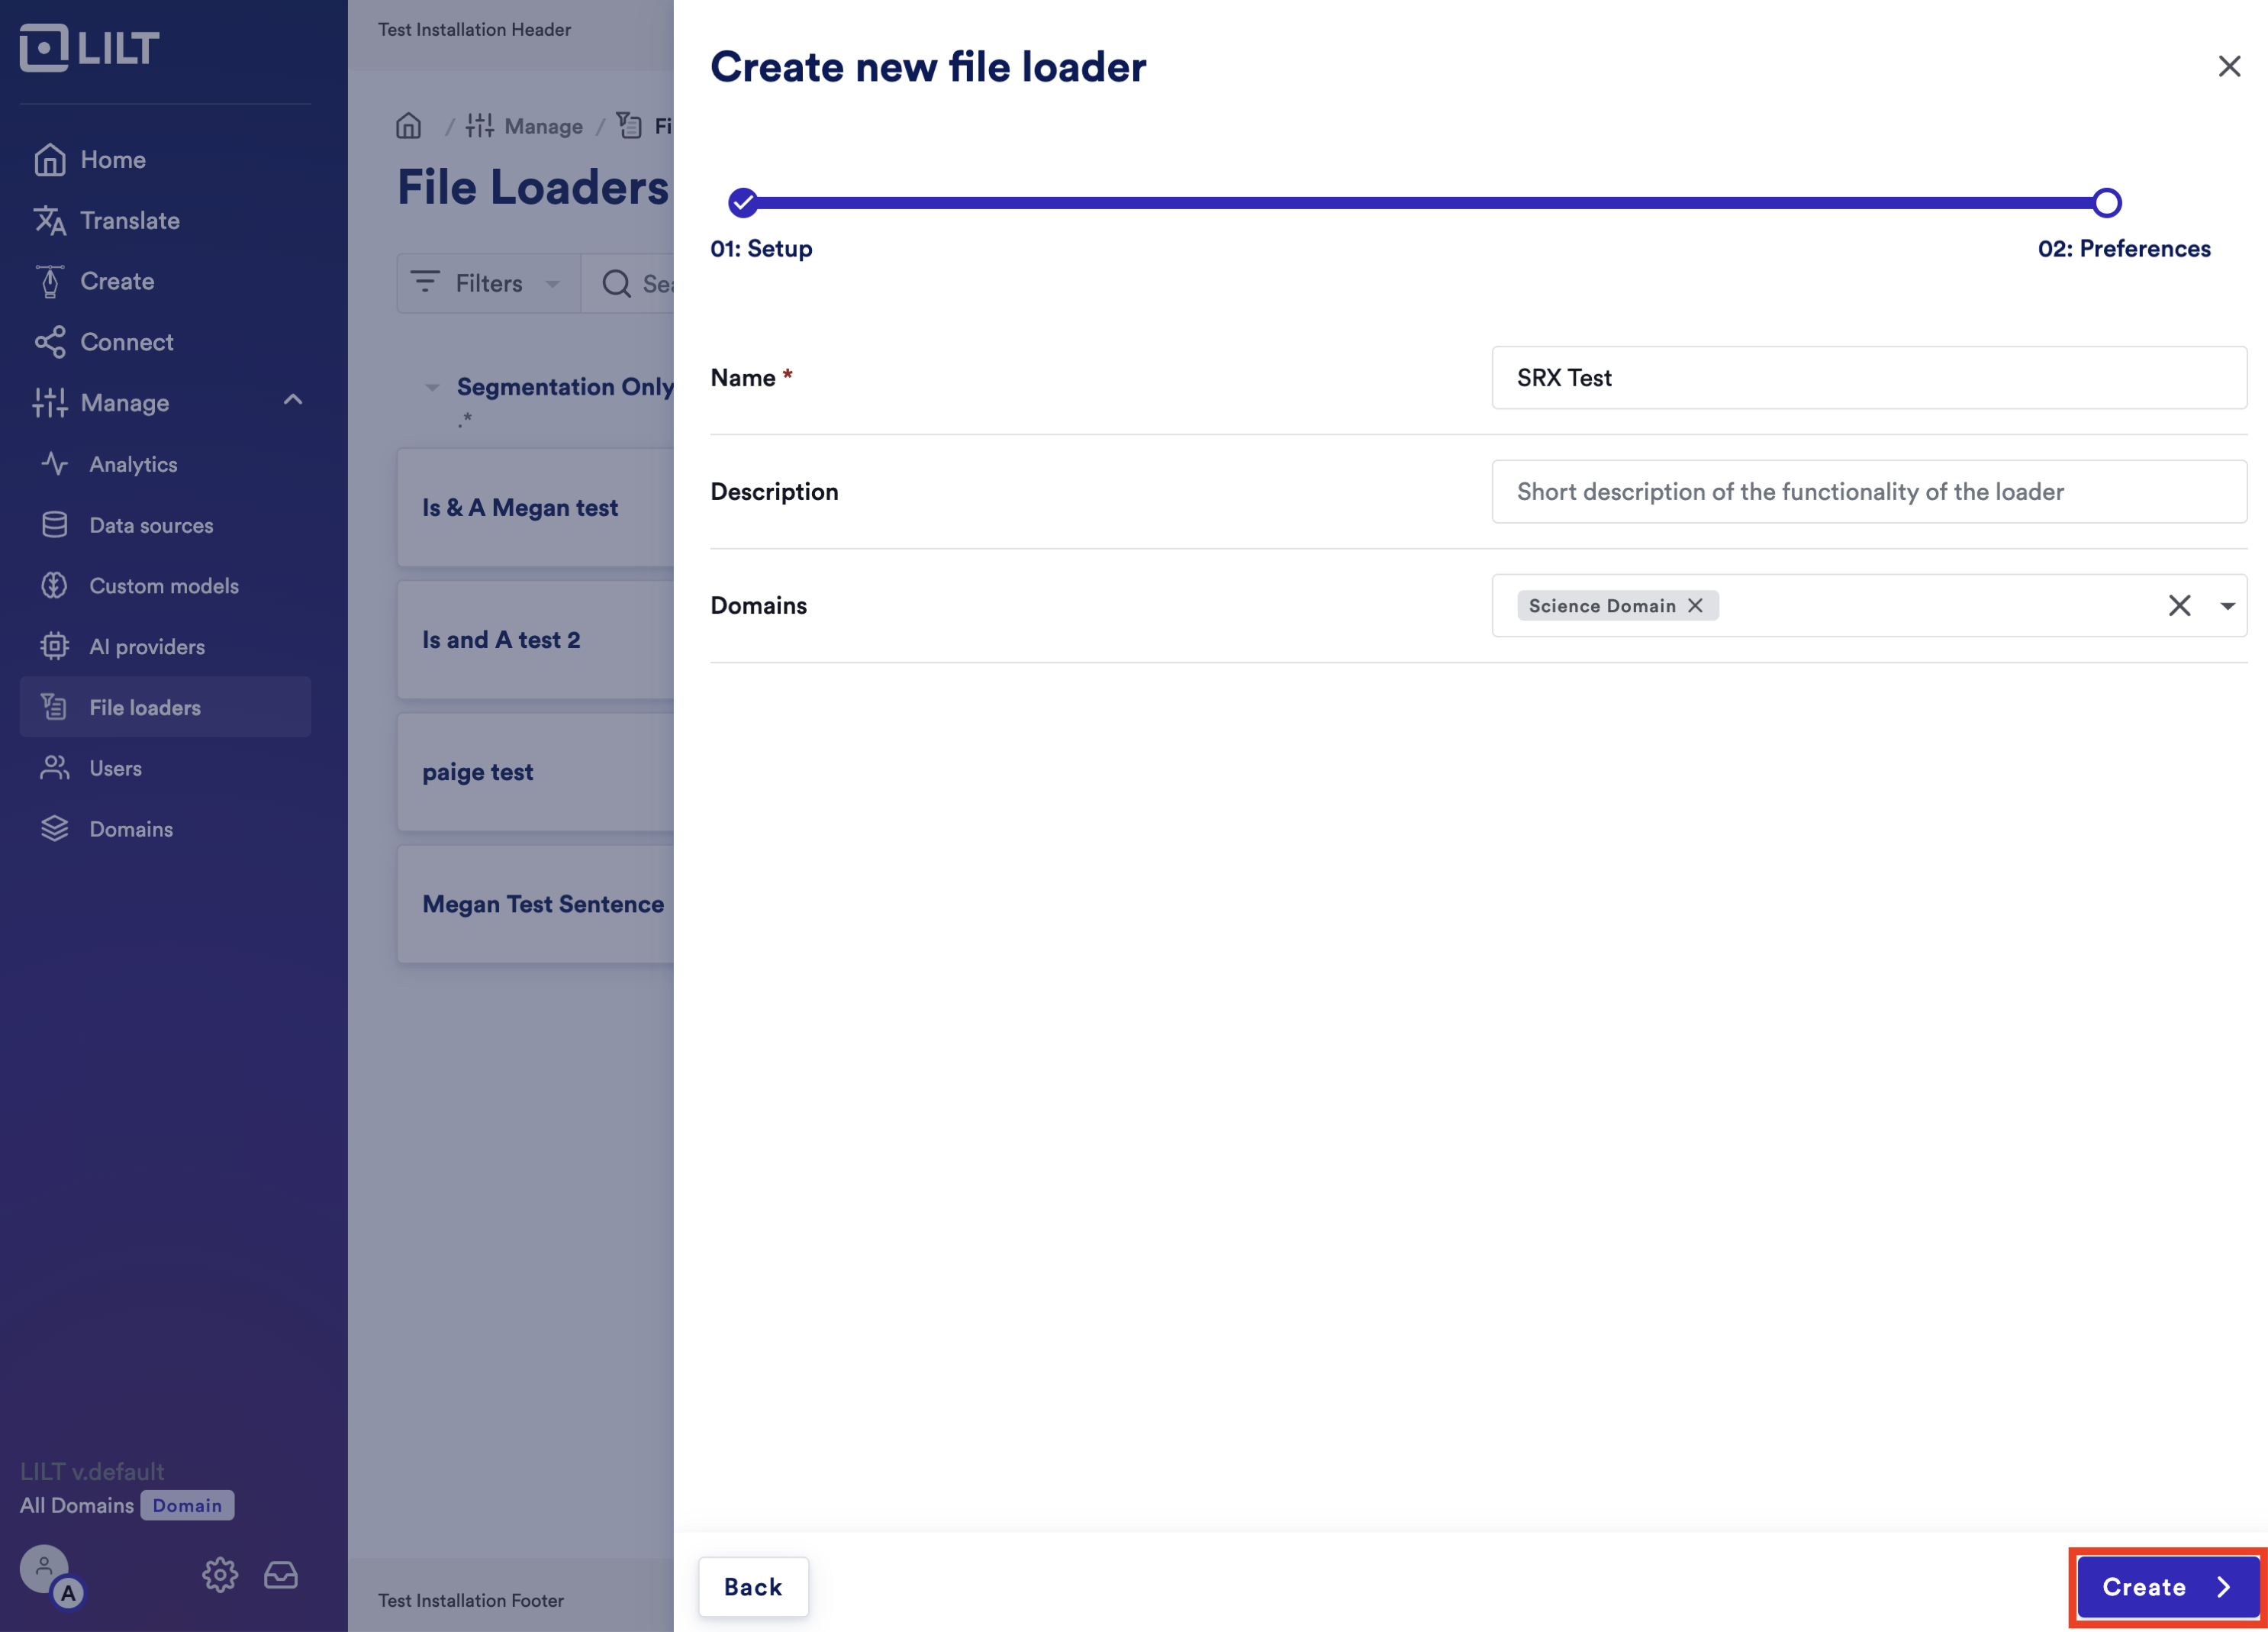
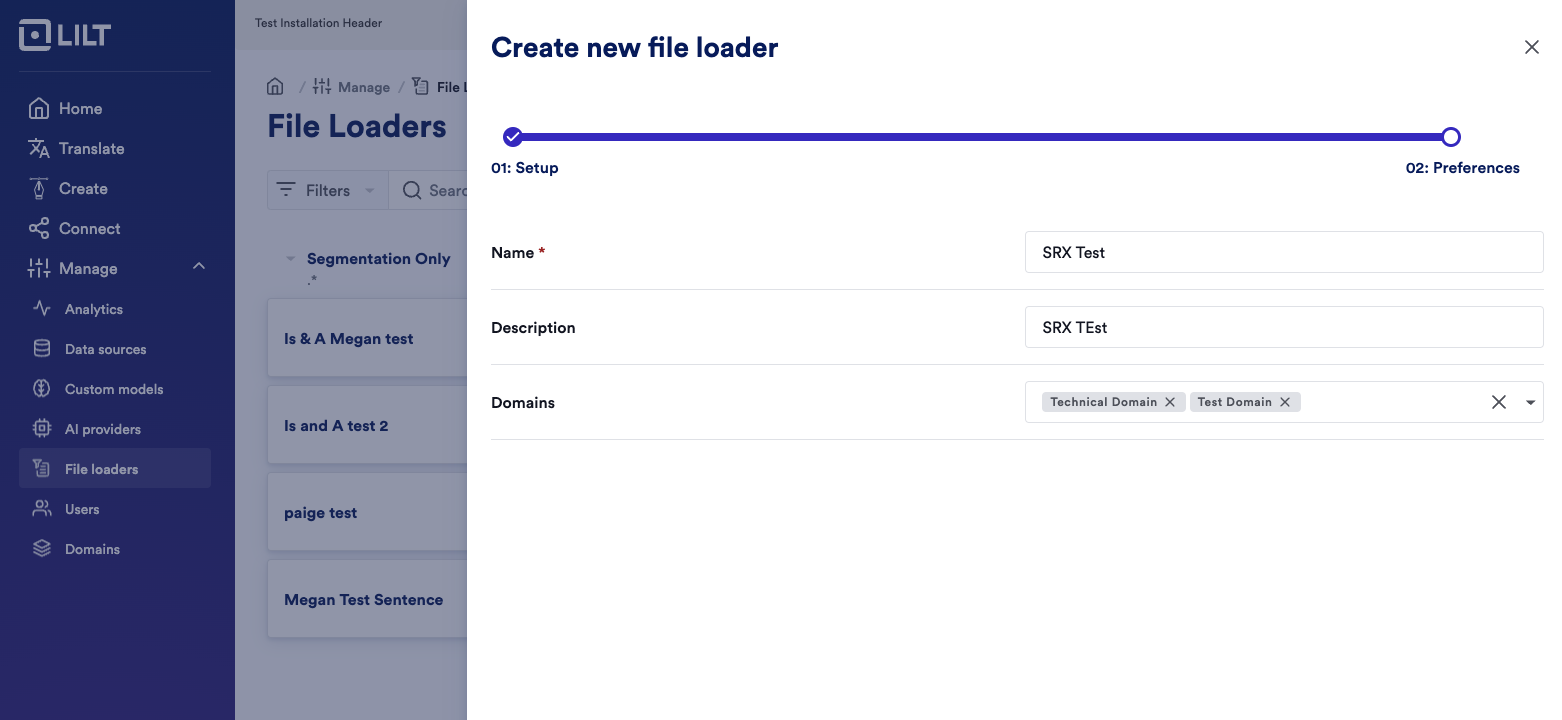
Name the loader. Optionally, you can:
- Add a short description of the loader.
- Add it to any domains that you want to apply this loader to. If you select specific domains, then the SRX file will only apply to those. Otherwise, it will apply to all users of the organization.
- Click “Create” at the bottom of the screen and you SRX file loader will be ready to use.