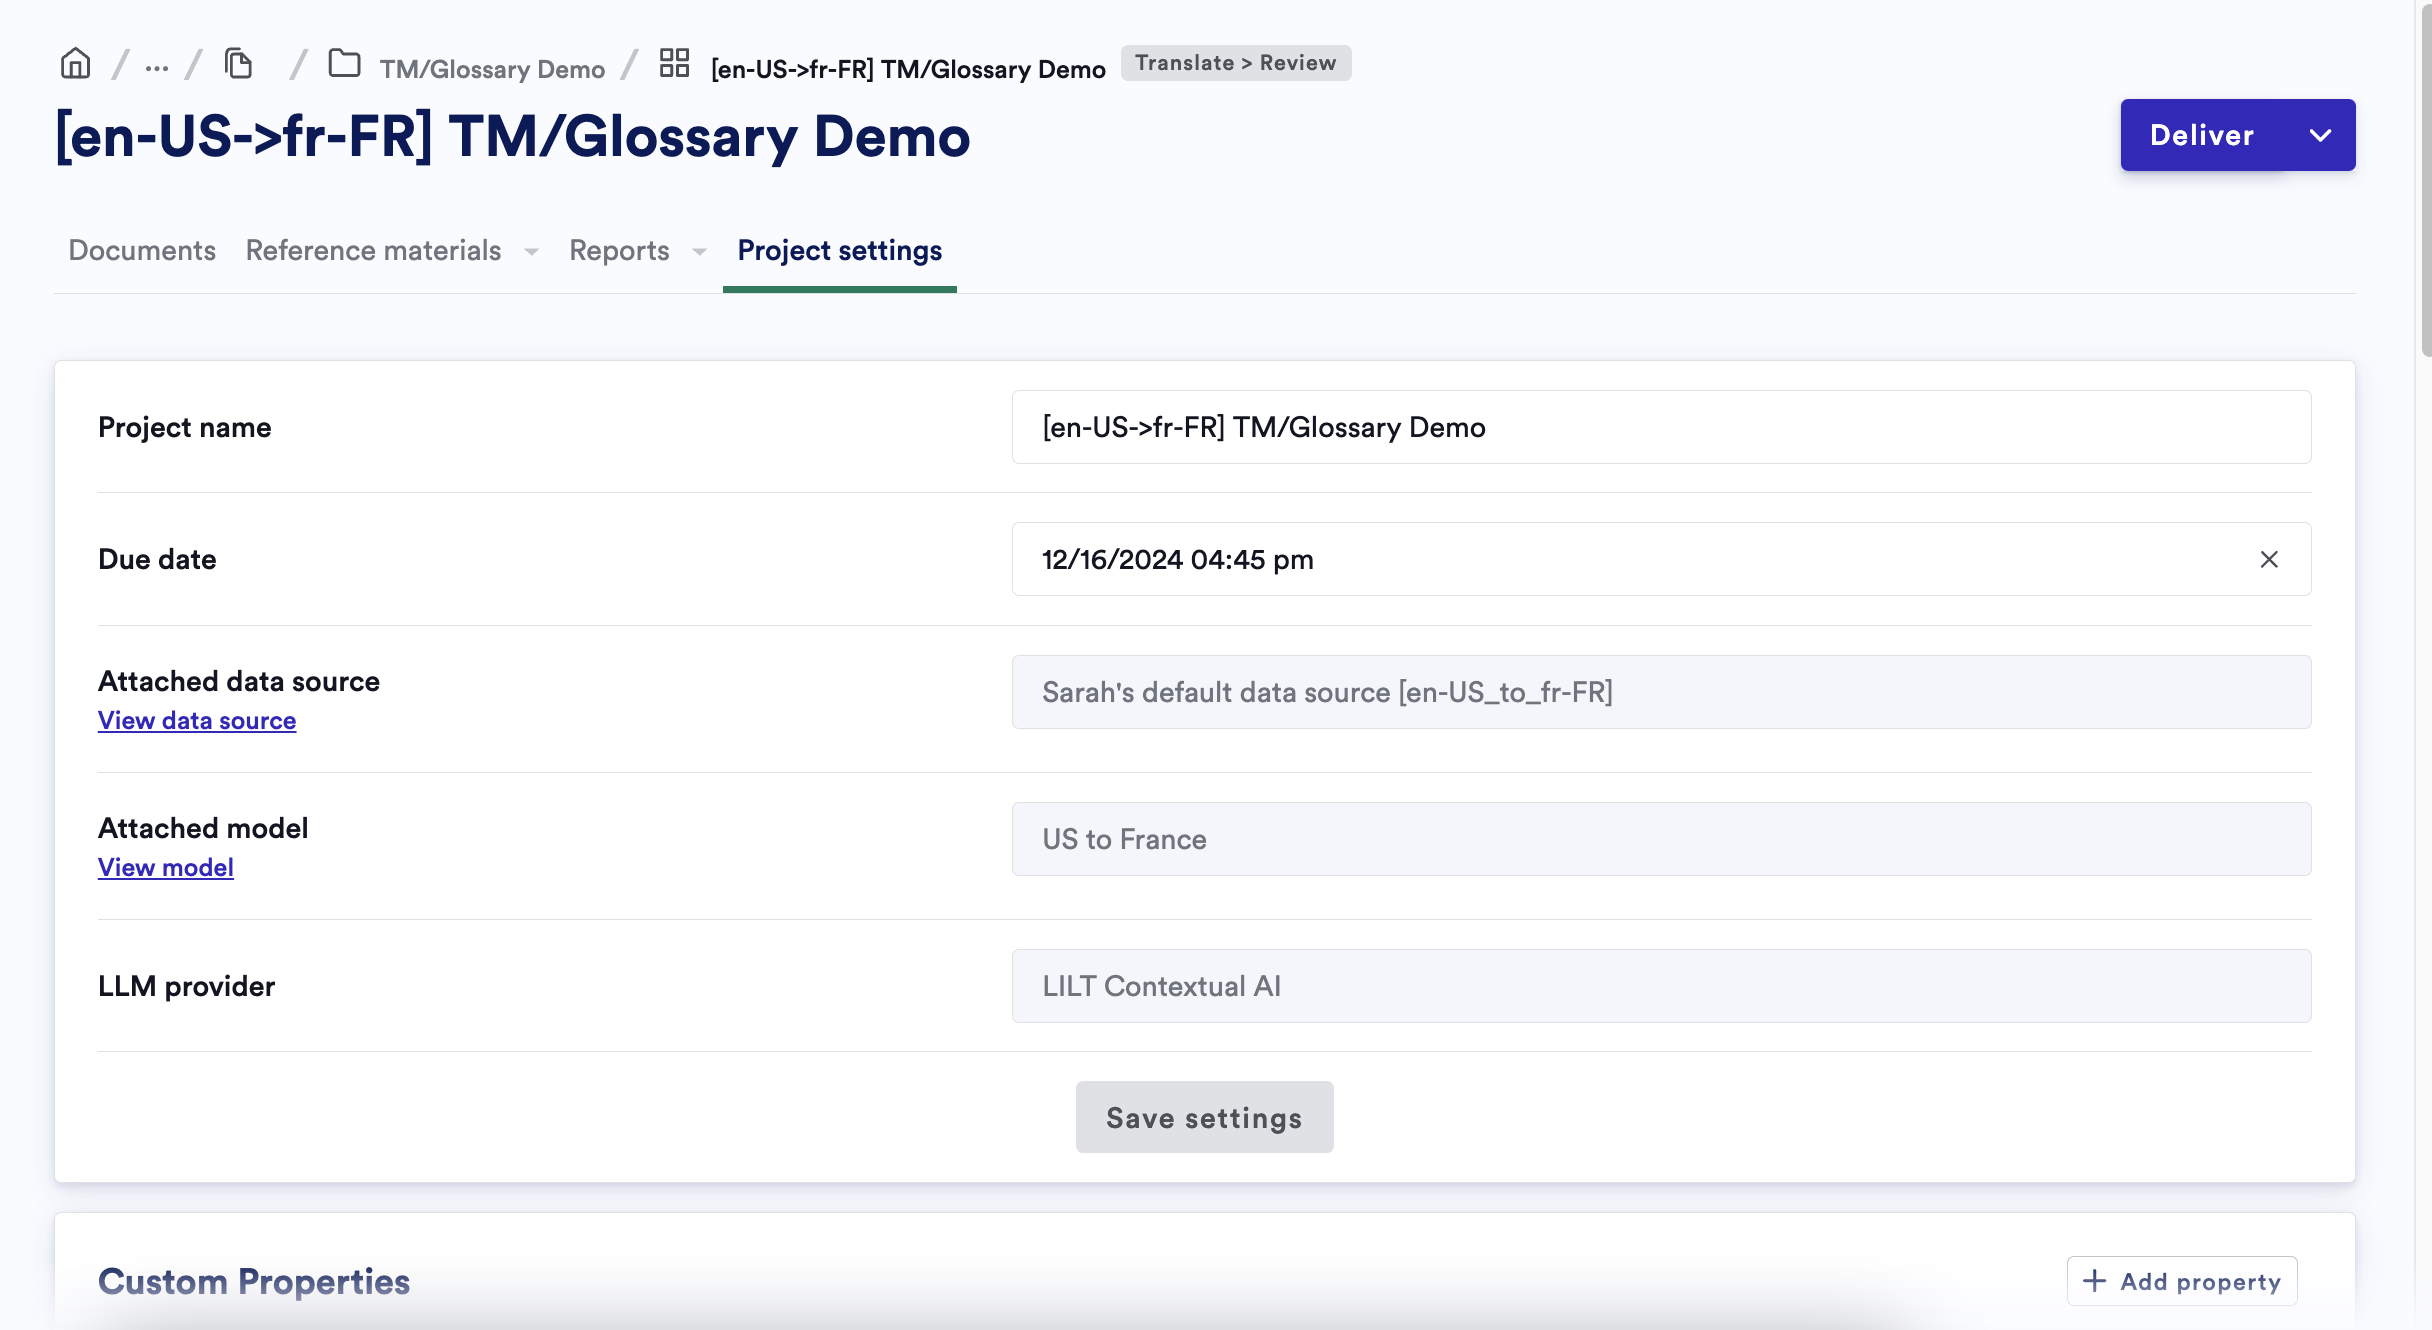
Settings tab, and scroll down to the Custom Properties section.

Save button at the bottom of the Custom Properties section.
If you want to undo any changes you have made, simply refresh the page without clicking the Save button and the changes will be reverted.
Adding custom properties
In theCustom Properties section, click the Add custom property button to add new empty entries.

-
Propagate (checkbox):
- If not selected, the custom property will only exist as metadata within the Project.
-
If selected, the custom property becomes locked and is added to all the associated Data Source TM entries. This means other projects using the same Data Source will also be affected. Locked custom property entries cannot be edited, but can be deleted. Be careful when propagating; propagation is not always easily undone for the following reasons:
- Deleting a custom property from a Project does not delete it from the associated Data Source.
- An existing custom property with the same name as your new custom property will have its value overwritten in all the Data Source TM entries.
- Name (text field): Add the name of the custom property. This is a unique identifier of the metadata field. If you use the same name as any existing custom properties, the existing value will be overwritten.
- Value (text field): Add the value of the custom property.

Save button to apply any changes you have made.
Editing custom properties
If you need to edit any custom property entries, click the name or value text fields, modify the text, and click theSave button.
Note that locked custom properties cannot be edited from the Project settings page. Instead, you can edit the name field on the associated Data Source Settings Page, and you can edit the value field on an individual basis for each of the Data Source’sTM Entries.
Deleting custom properties
If you need to delete any custom properties, click the Delete icon for each entry you want to remove and then click theSave button to permanently delete them.
Deleting a custom property from a Project will only remove it from that Project. If any custom properties were propagated to the associated Data Source, you can delete them on the Data Source’s Settings Page.
