Translating documents
When a translator opens a document, it will load LILT Translate in Translate mode. The Translate mode interface is the same editor used for Review, but with a few slight differences, as described in the Introduction to LILT Translate article. The role of a translator is to translate all the segments of a document. The various tools and features (as described in the Introduction to LILT Translate article) all come together to create an efficient translation workflow. The most important tools for translators to know are the segment editor, quality assurance tools, and hotkeys. After a translator has translated a segment, they clickConfirm in the bottom-right of the segment to indicate that the segment has been translated. Once confirmed, the segment can be unconfirmed if it needs to be edited. Note: Once a segment has been accepted in Review mode, that segment can no longer be edited in Translate mode.

Marking the document as done in Translate mode
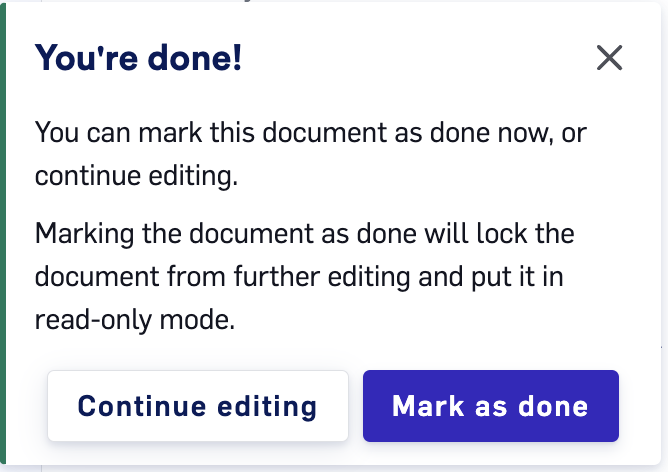
When all segments in a document have been confirmed by the translator, aMark as done popup will appear, allowing the translator to mark that the document has been completed in Translate mode.

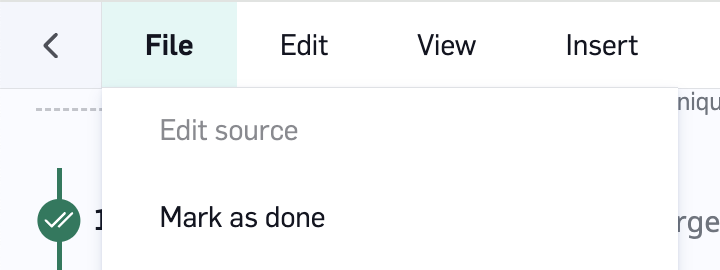
File tab.


